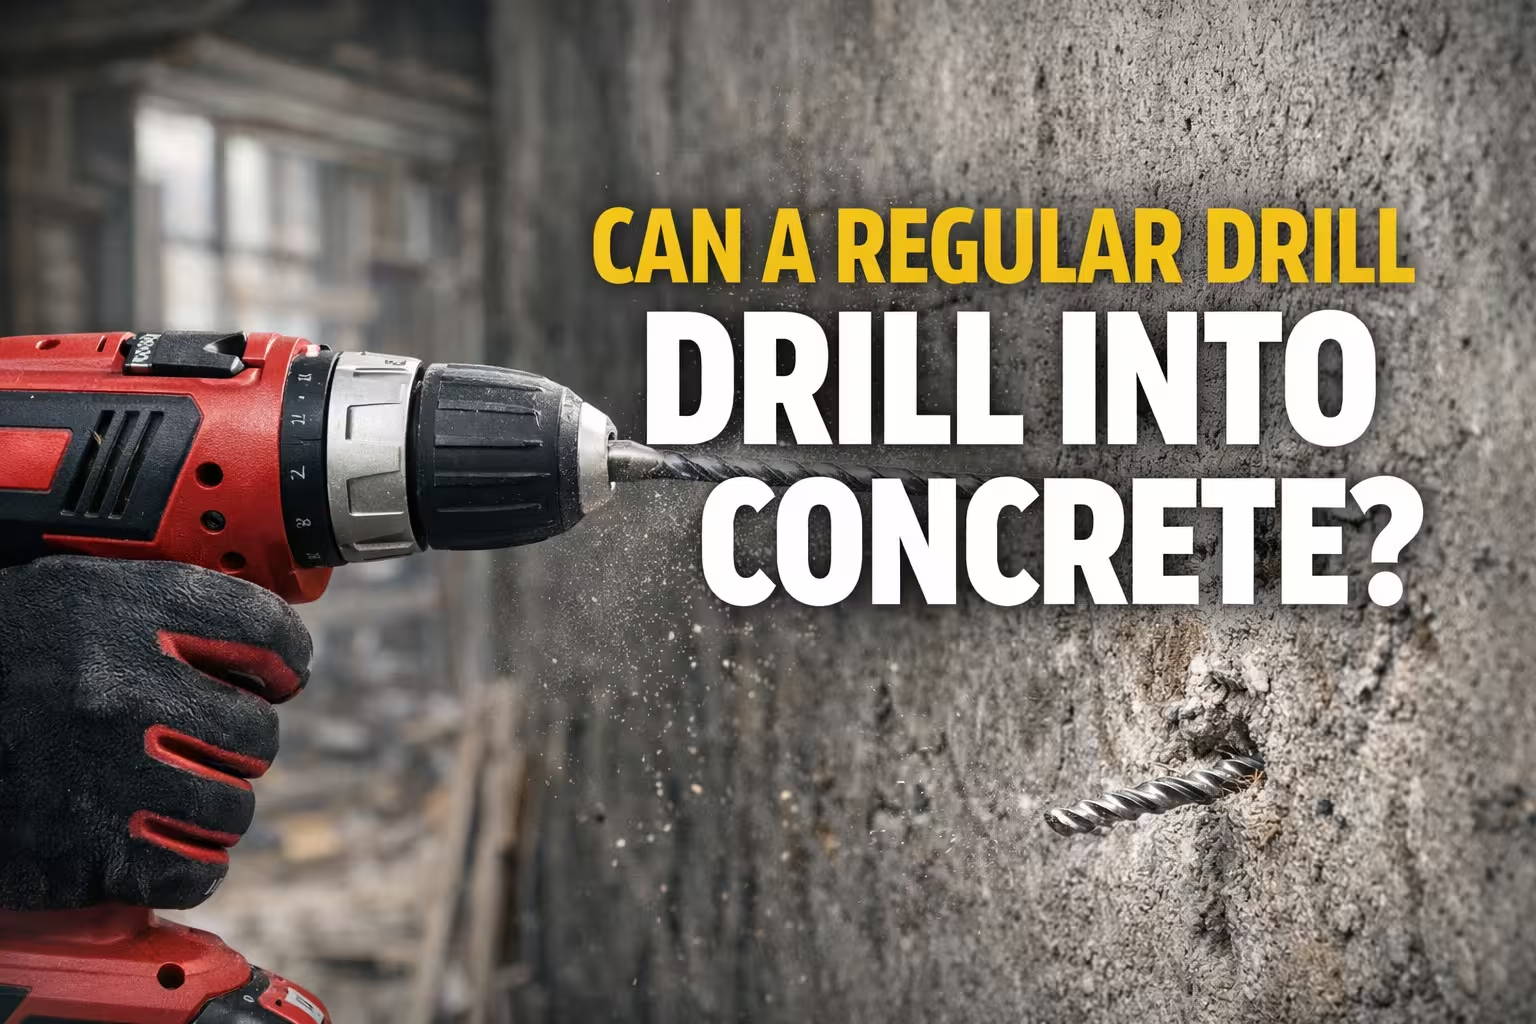
Why drill bits burn or break is one of the most common problems DIYers face when drilling into materials like steel, concrete, or hardwood. Burnt or broken drill bits are extremely common for DIYers and homeowners, but in most cases the cause is simple and preventable.
Drill bits are designed to handle significant friction and pressure, but when the wrong technique or equipment is used, heat builds up quickly and the bit can fail.
In this guide, you’ll learn the most common reasons drill bits burn or break, how to prevent these issues, and how to extend the life of your tools.
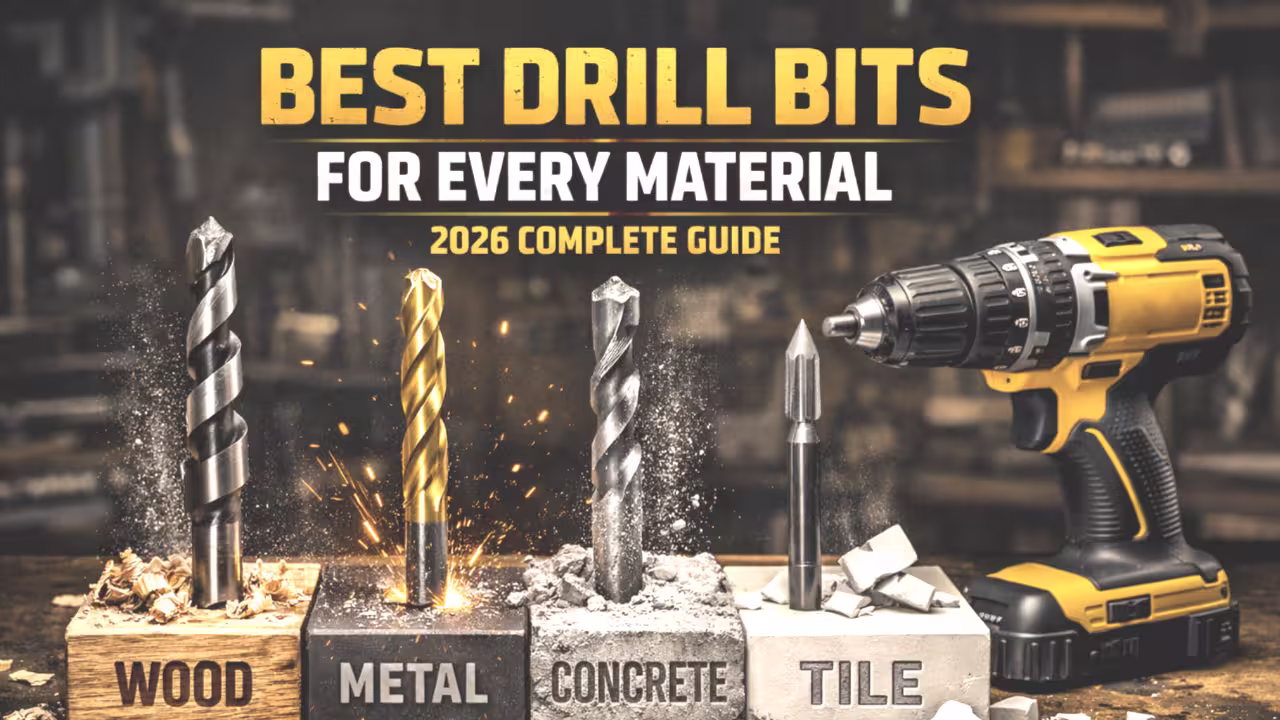
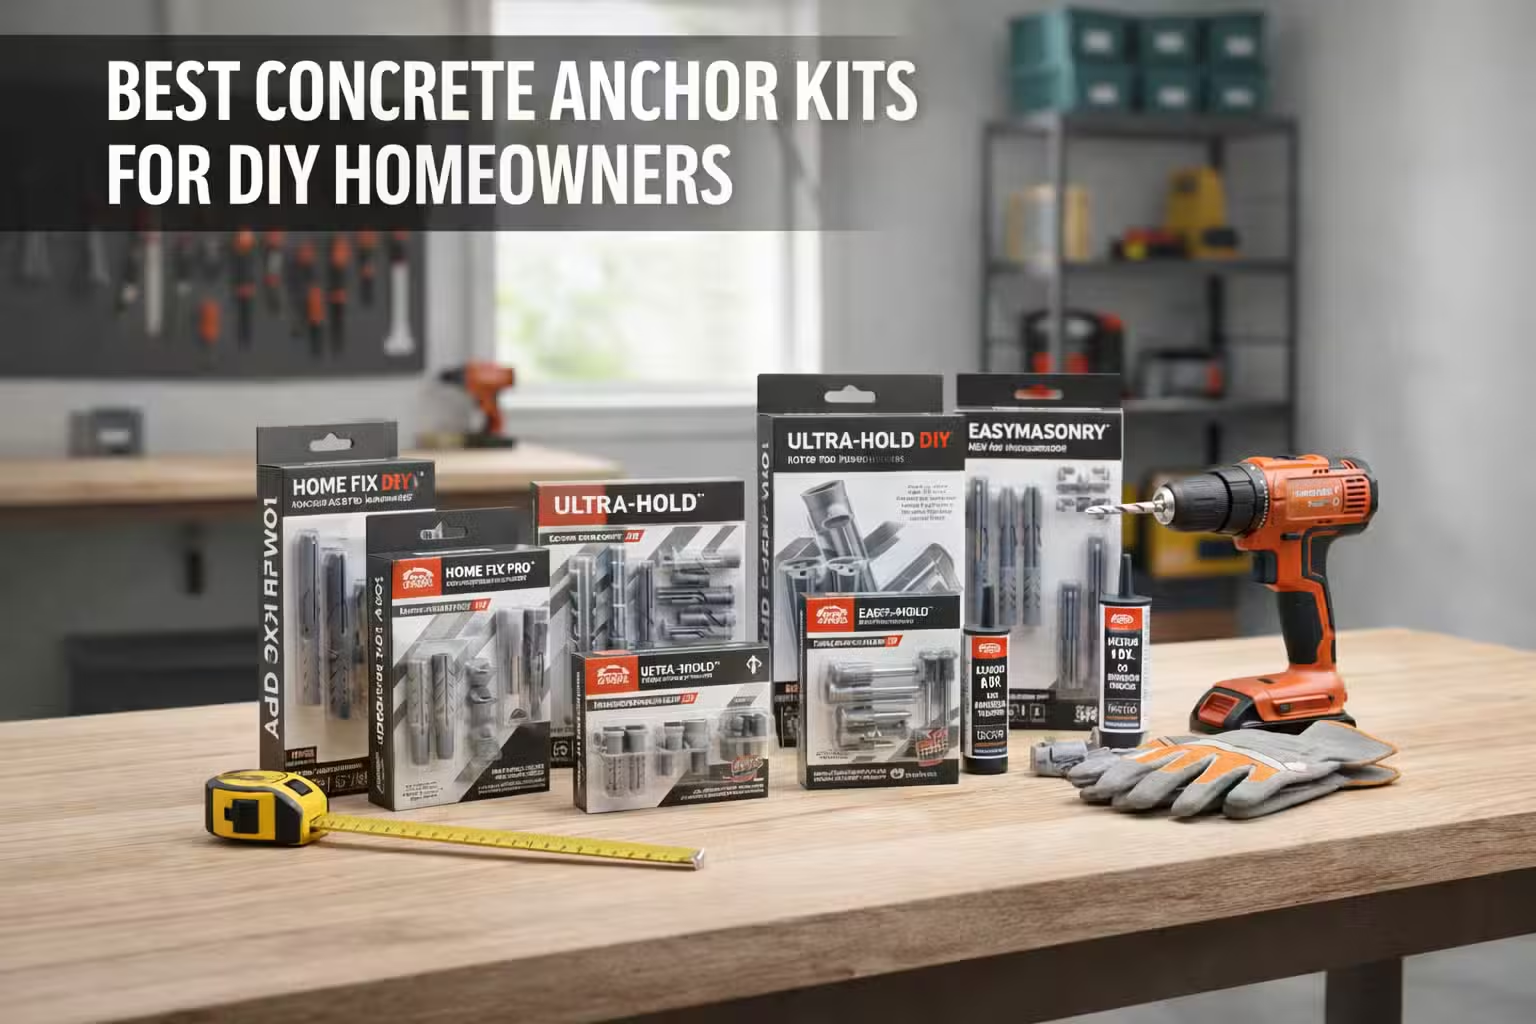
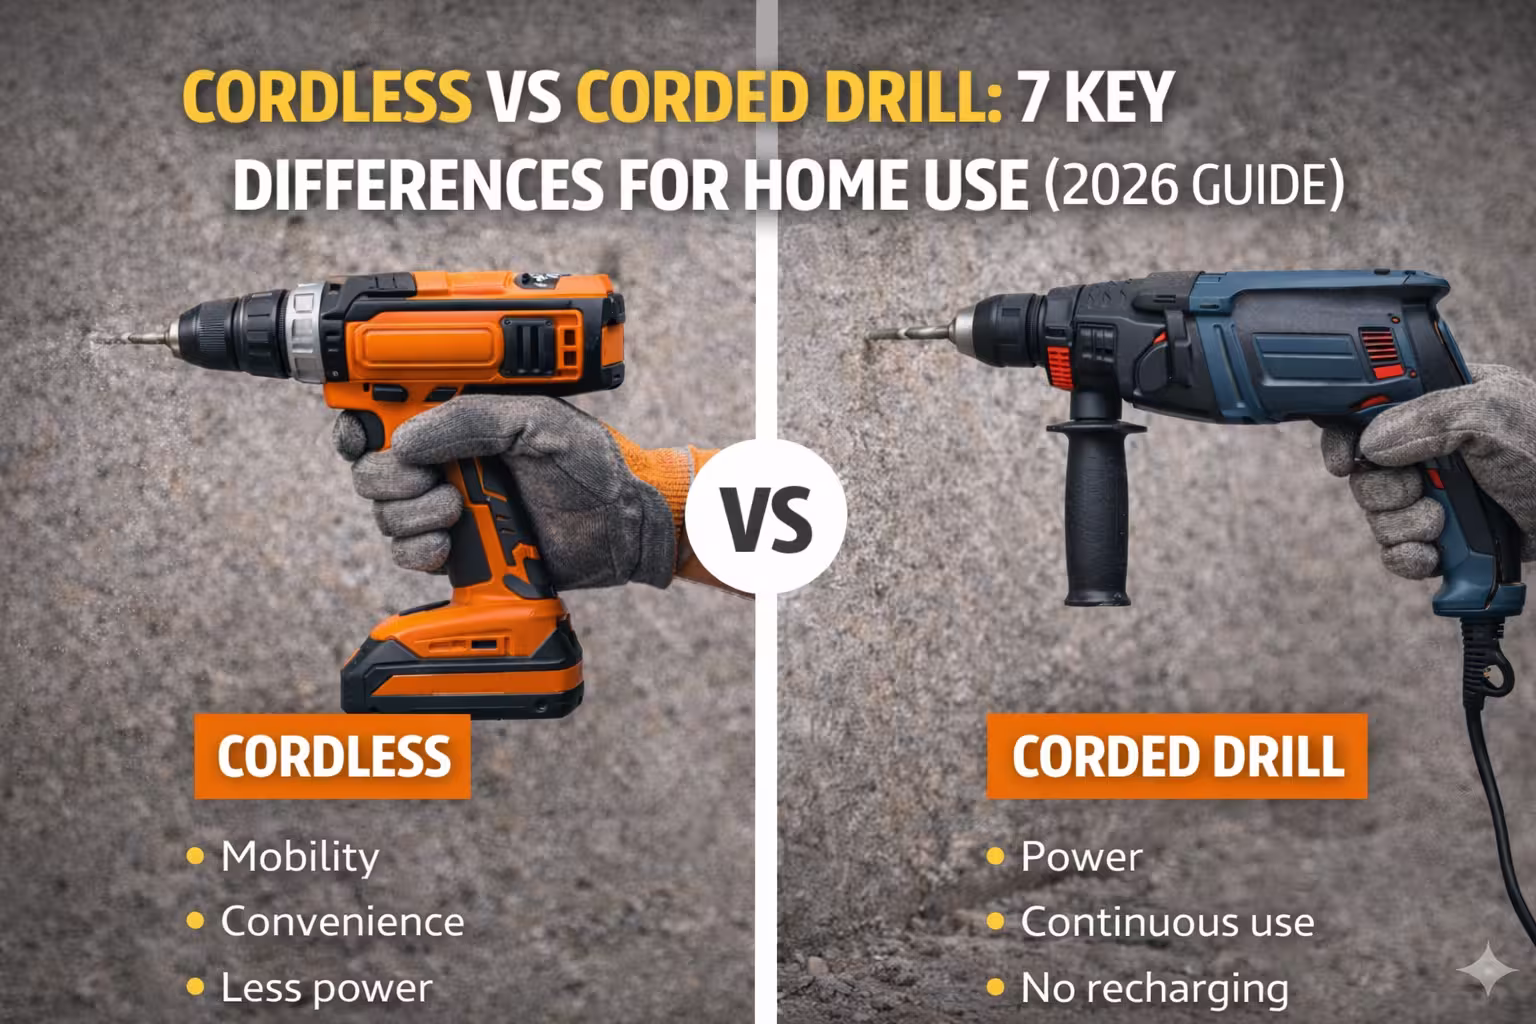
(Best Drill Bits for Every Material (2026 Complete Guide))
The Most Common Reasons Drill Bits Burn or Break
There are several factors that can cause drill bits to fail. Most of them relate to heat, pressure, or improper technique.
The most common causes include:
- Excessive drilling speed
- Too much pressure
- Using the wrong drill bit type
- Lack of lubrication
- Dull drill bits
- Poor quality materials
Understanding these problems can help you avoid damaging your tools.
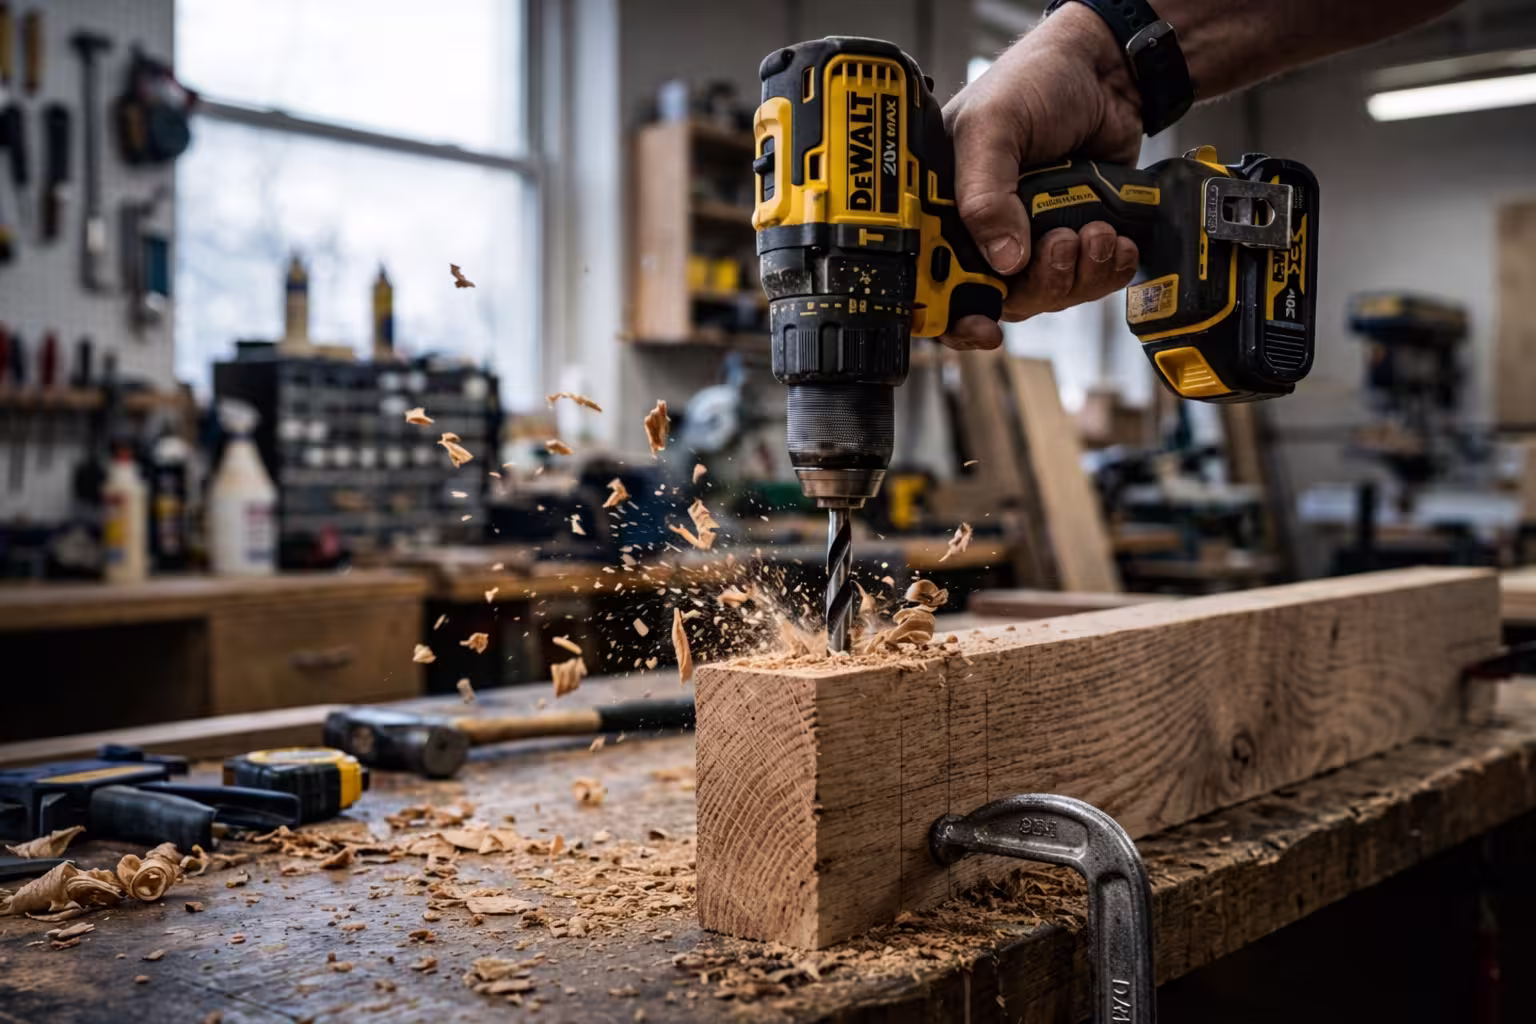
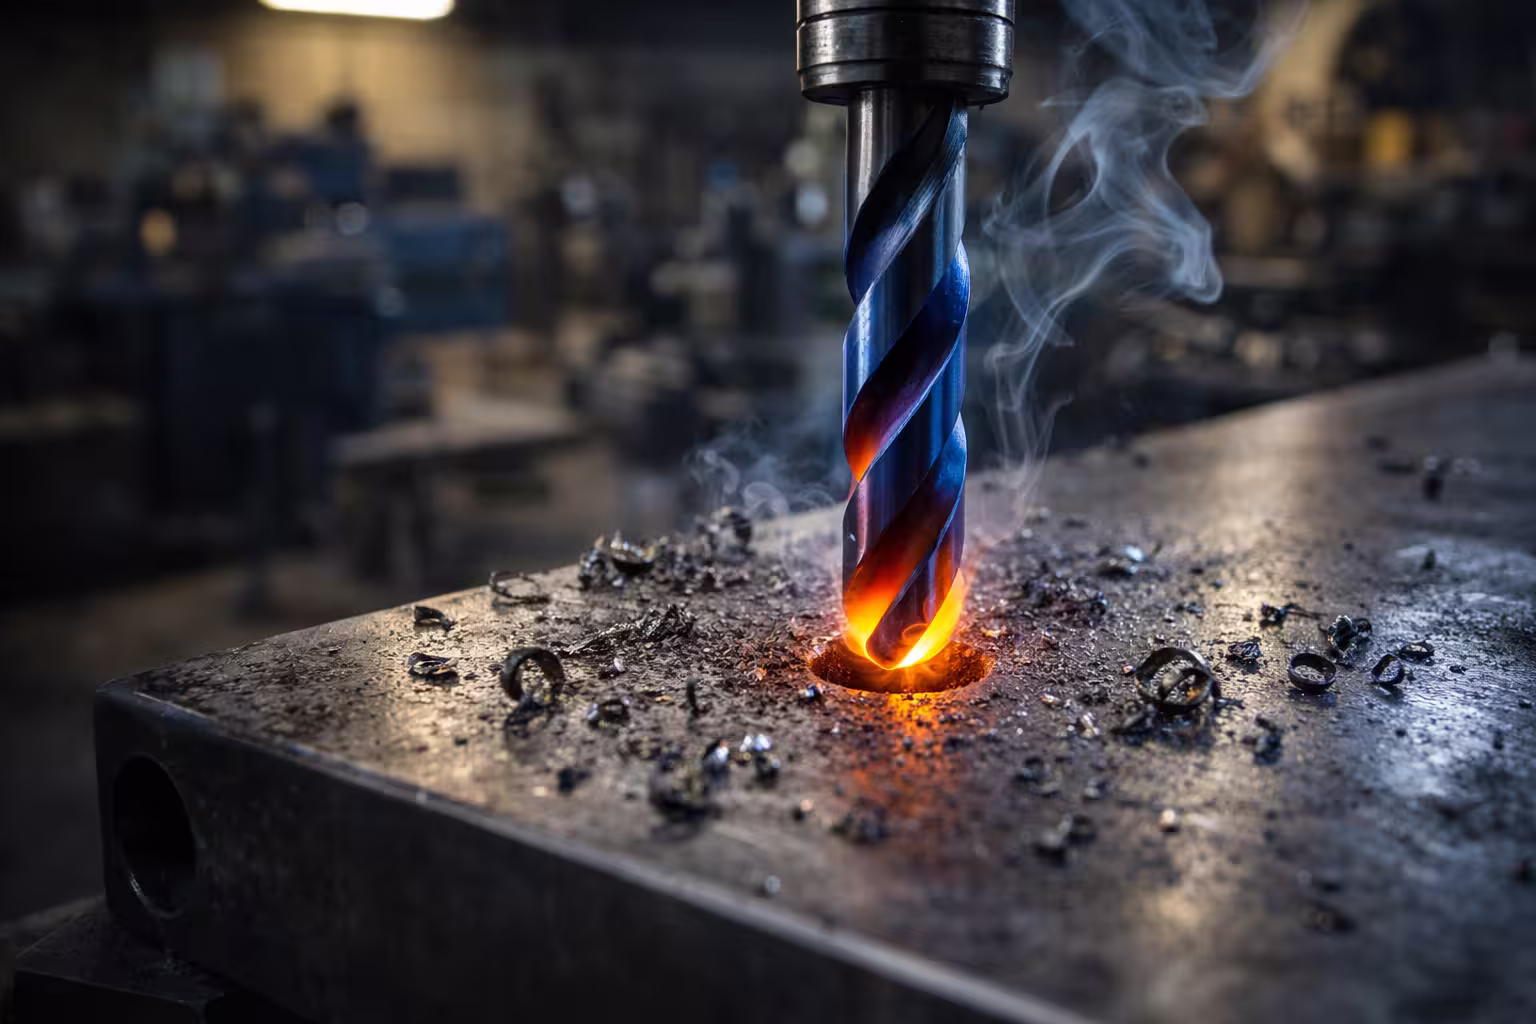
1. Excessive Drilling Speed
One of the biggest causes of burnt drill bits is drilling too fast.
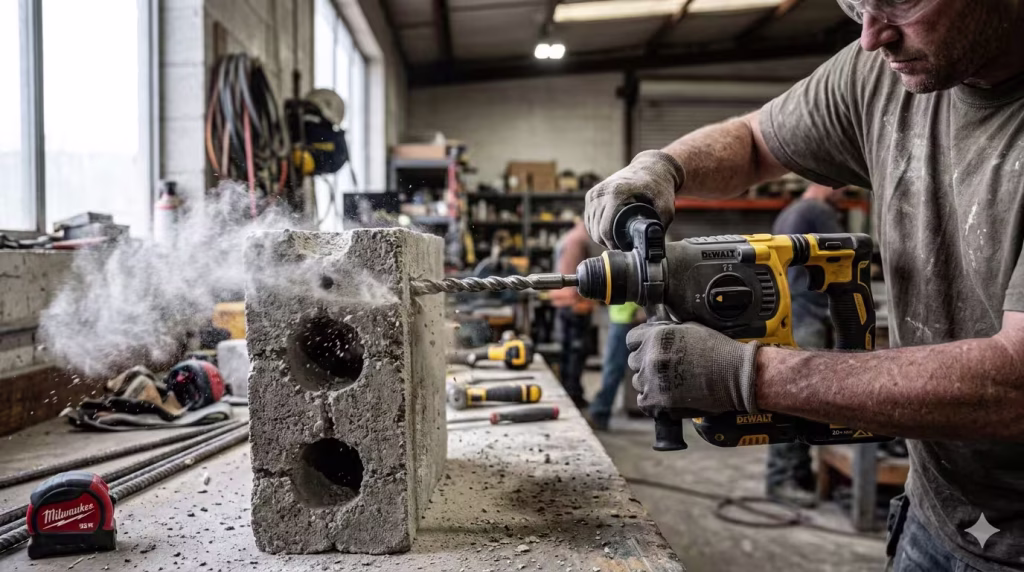
When drilling into hard materials like steel or concrete, high speed generates extreme friction. This heat can quickly damage the cutting edge of the drill bit.
Signs of overheating include:
- The bit turning blue or purple
- Smoke coming from the drilling area
- Reduced drilling performance
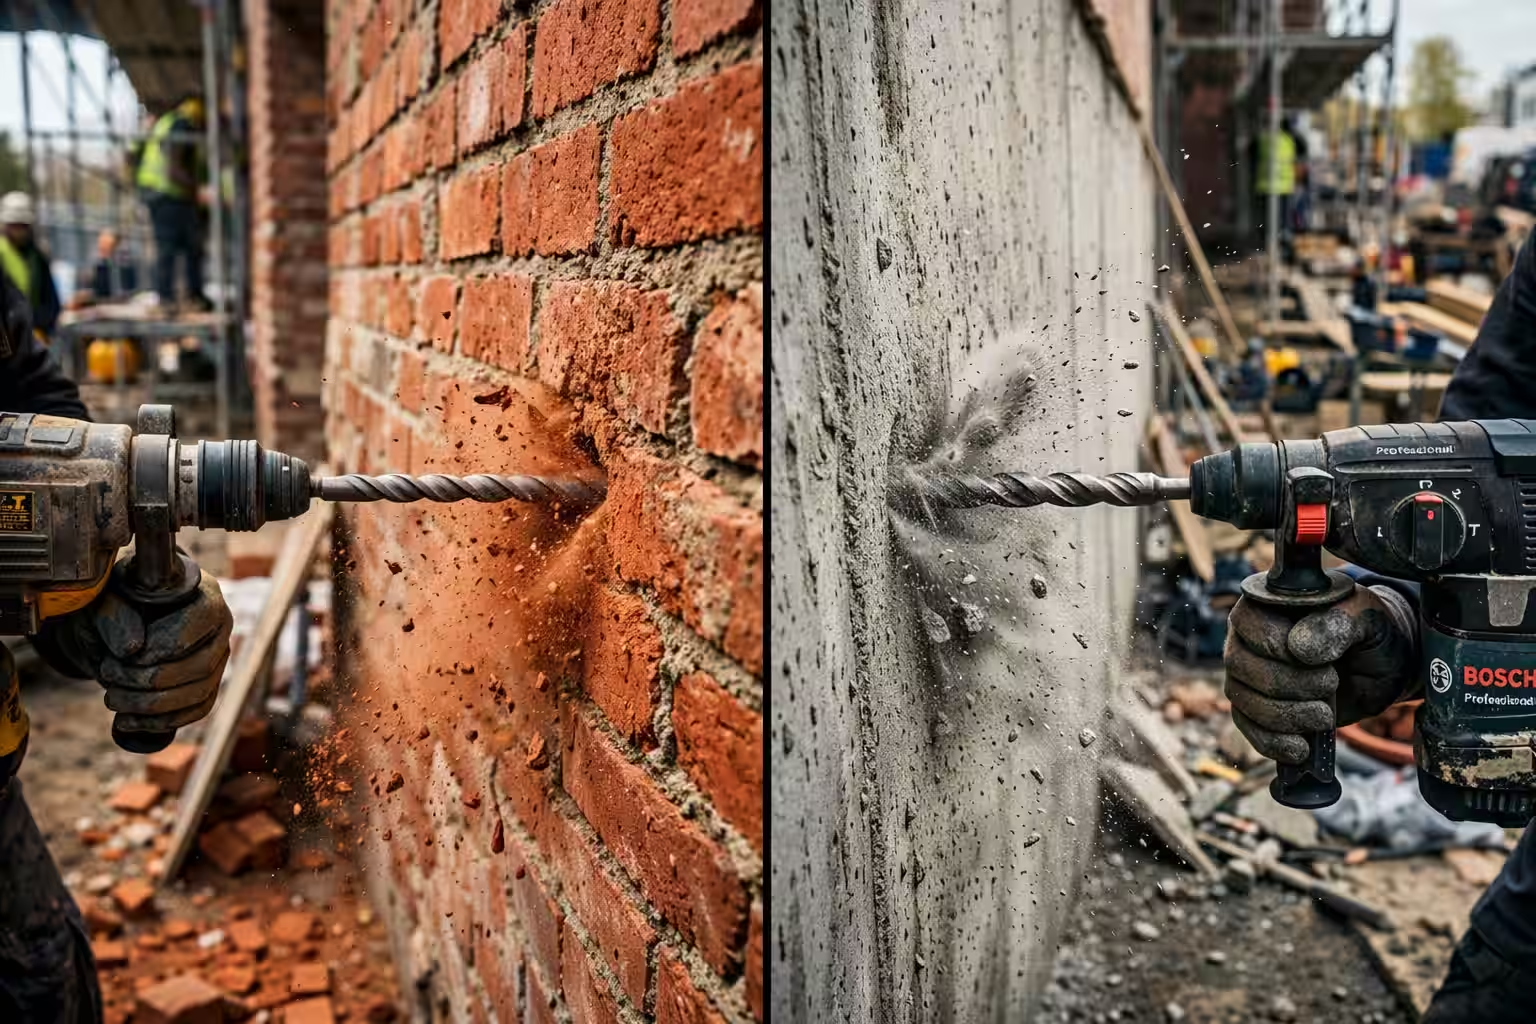
Hard materials require slower drilling speeds to allow the bit to cut effectively.
For example:
- Steel → low speed
- Concrete → medium speed with hammer mode
- Wood → higher speed
(Best Drill Bit for Steel and Metal (Complete Guide))
2. Applying Too Much Pressure
Another common mistake is pushing the drill too hard.
Many people assume that more pressure means faster drilling, but this actually causes more friction and heat buildup.
Excessive pressure can cause:
- Broken drill bits
- Bent drill bits
- Damaged drill motors
Instead, apply steady and moderate pressure and allow the drill bit to do the cutting.
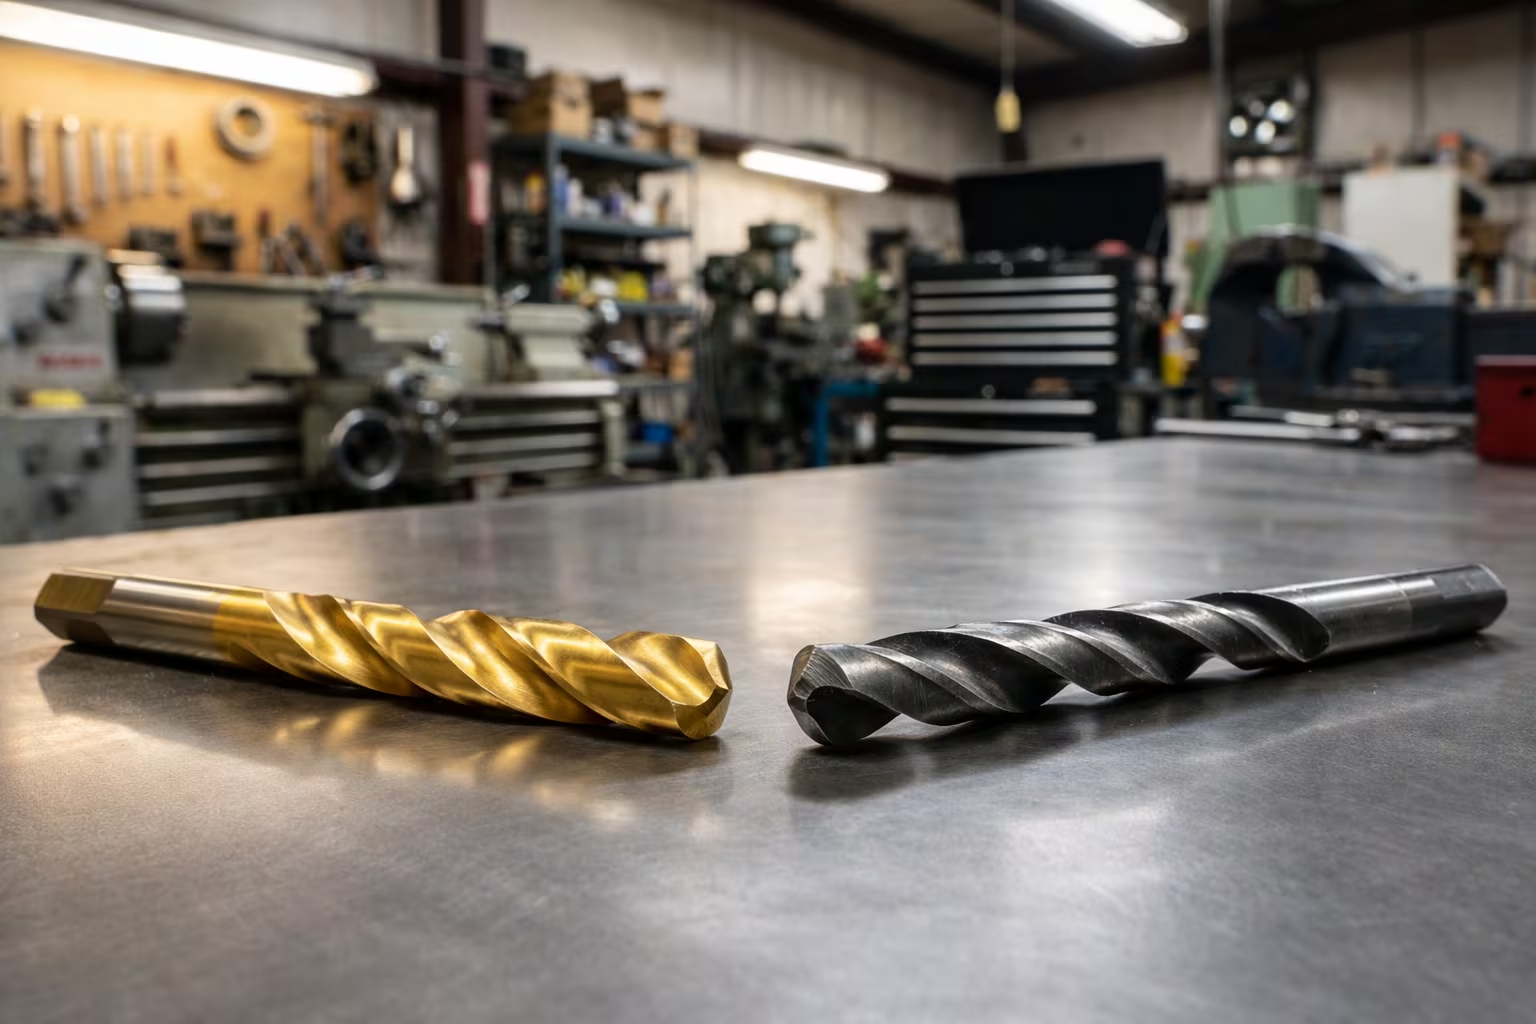
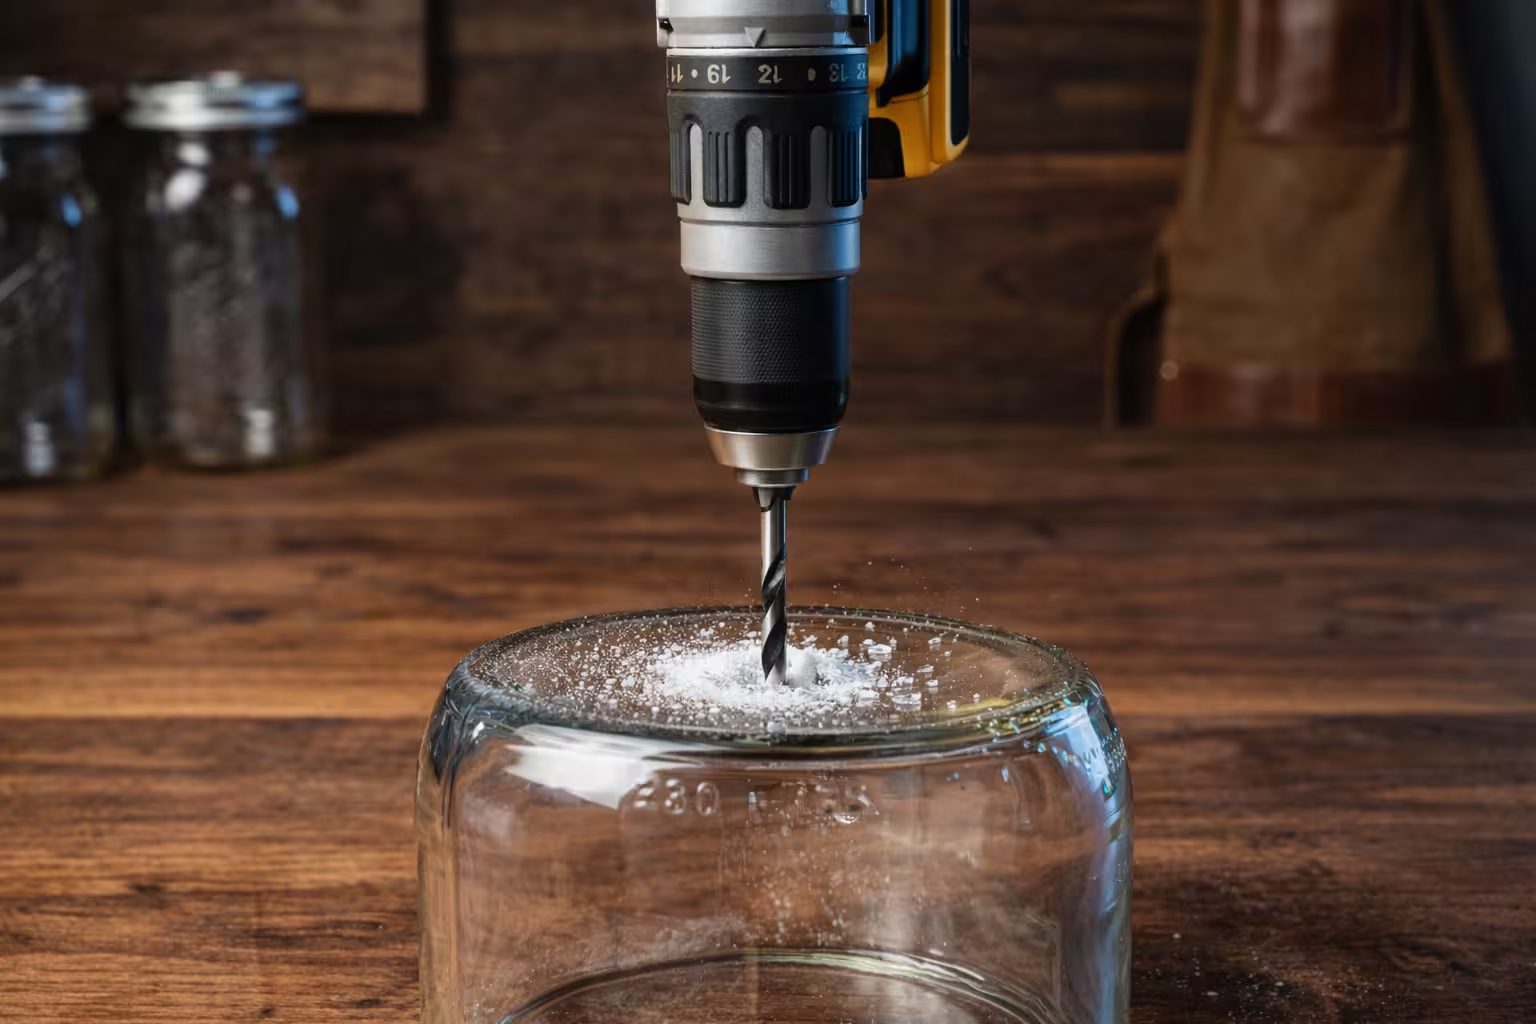
3. Using the Wrong Drill Bit for the Material
Different materials require different drill bit designs.
Using the wrong bit can quickly destroy the cutting edge.
Examples include:
- Using a wood bit on steel
- Using a metal bit on concrete
- Using a standard bit on hardened materials
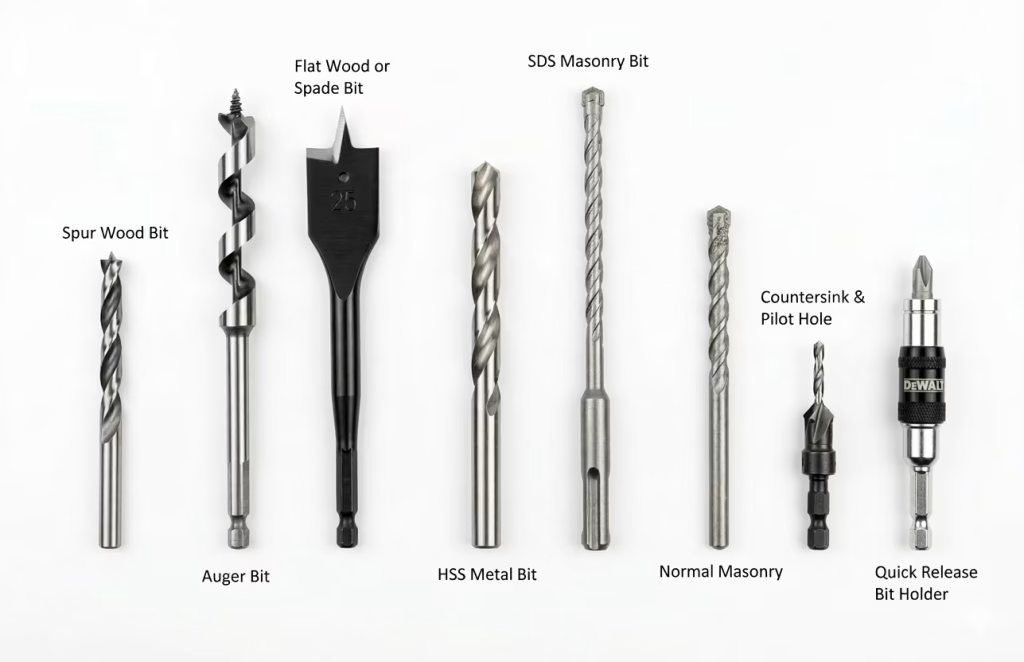
Each material requires a specific type of drill bit.
For example:
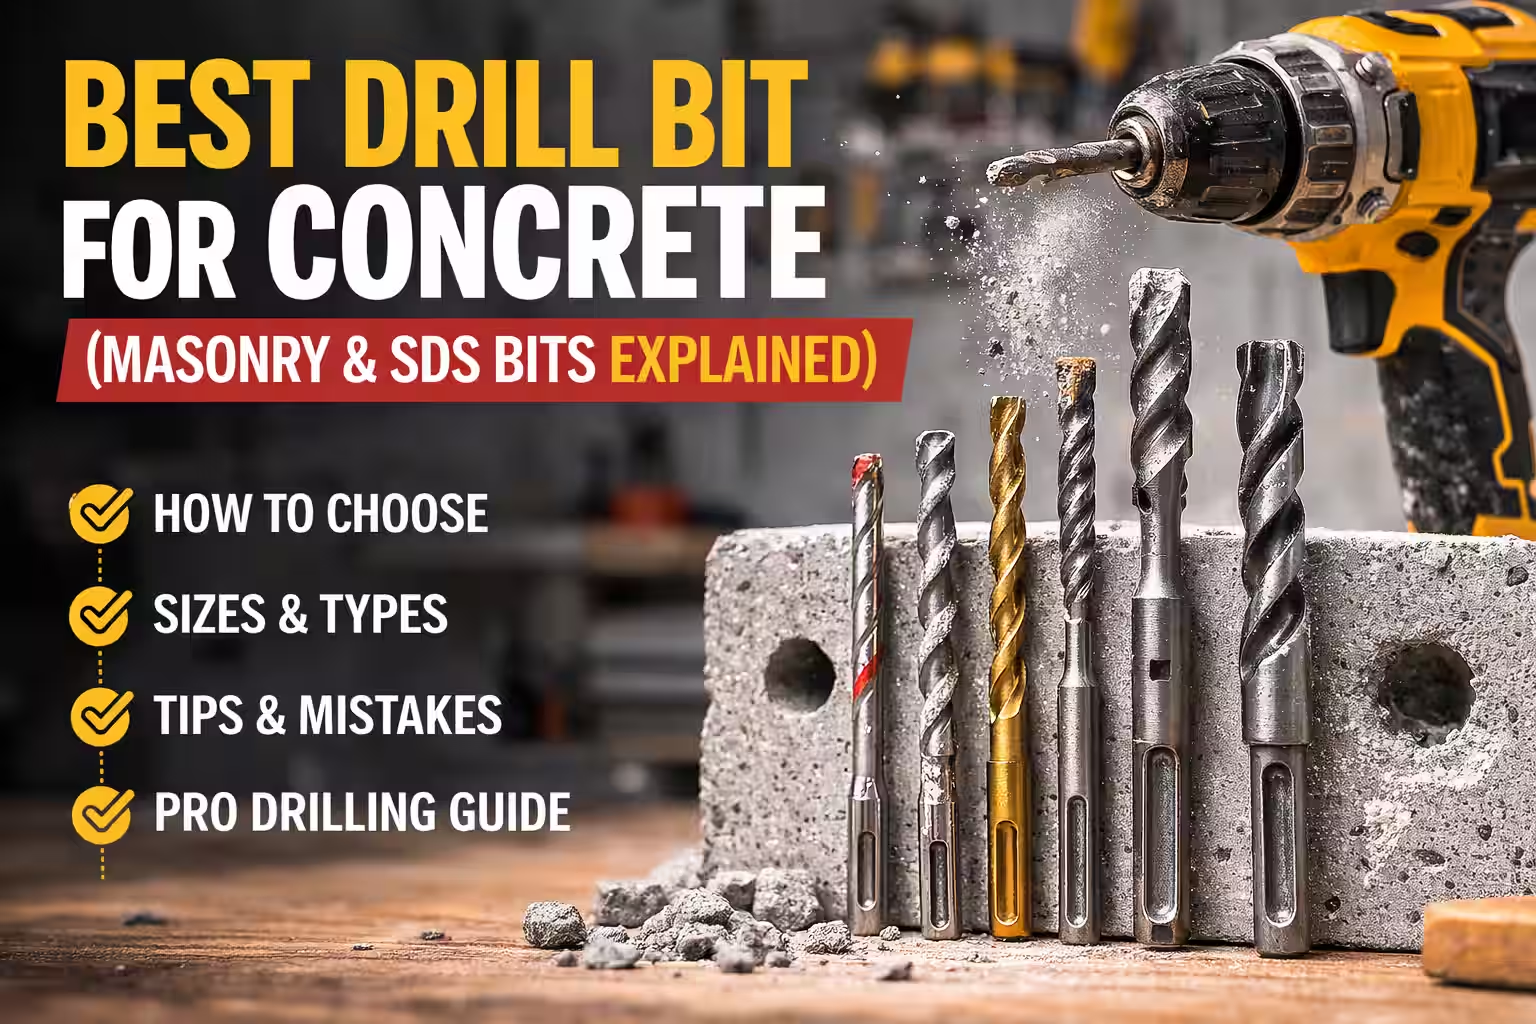
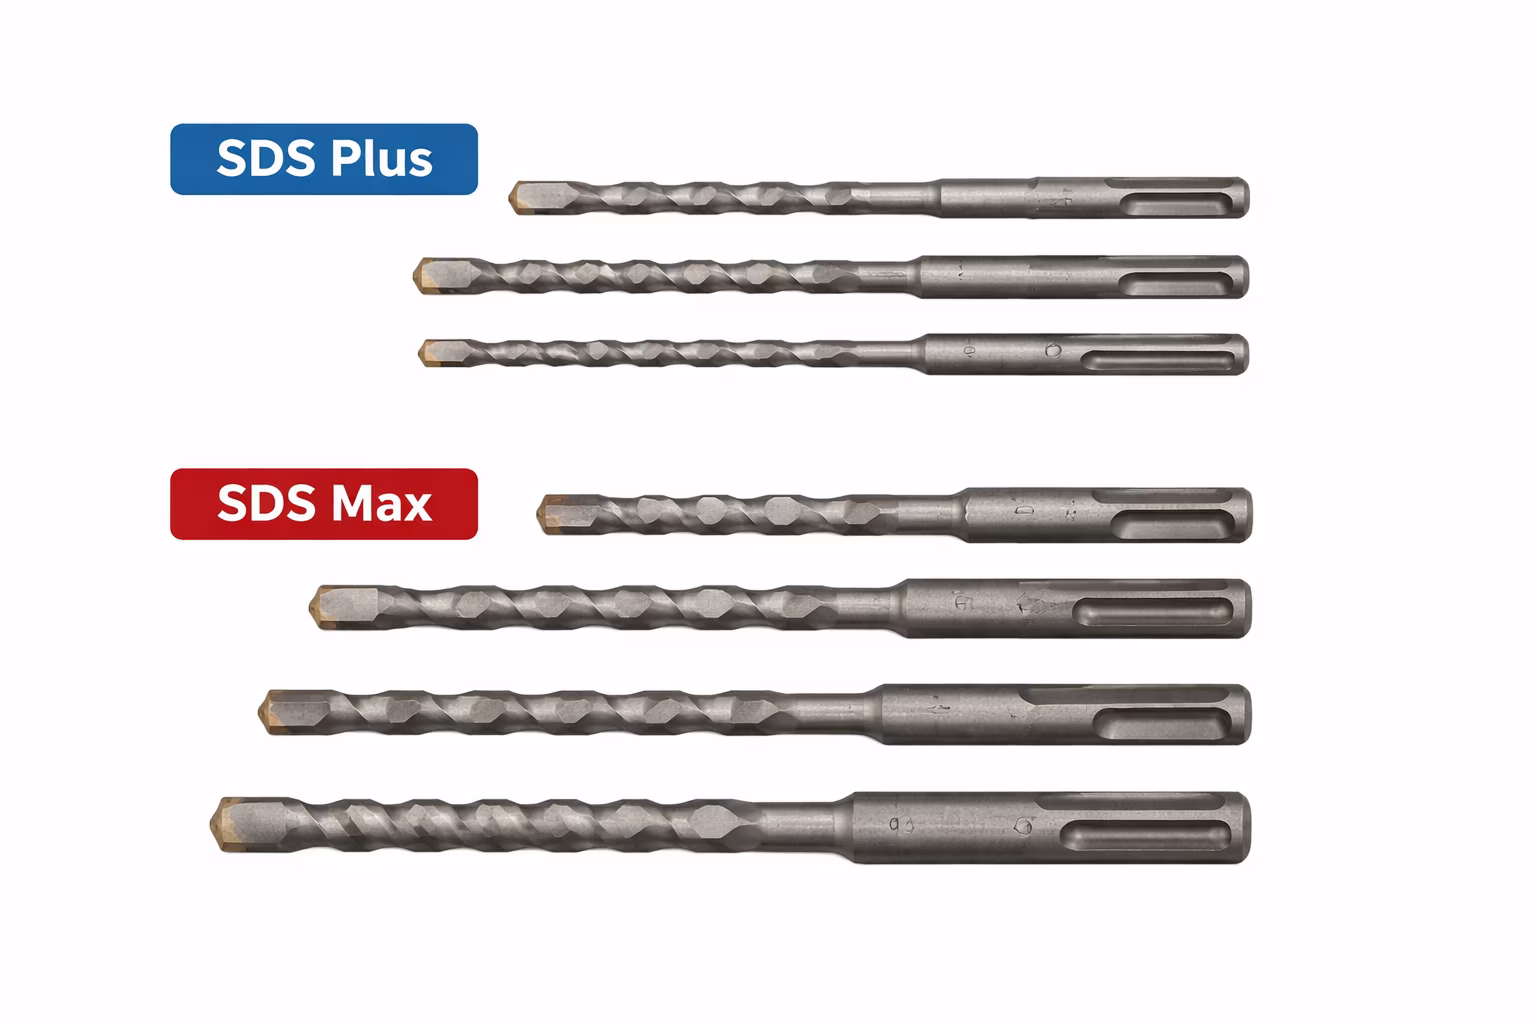
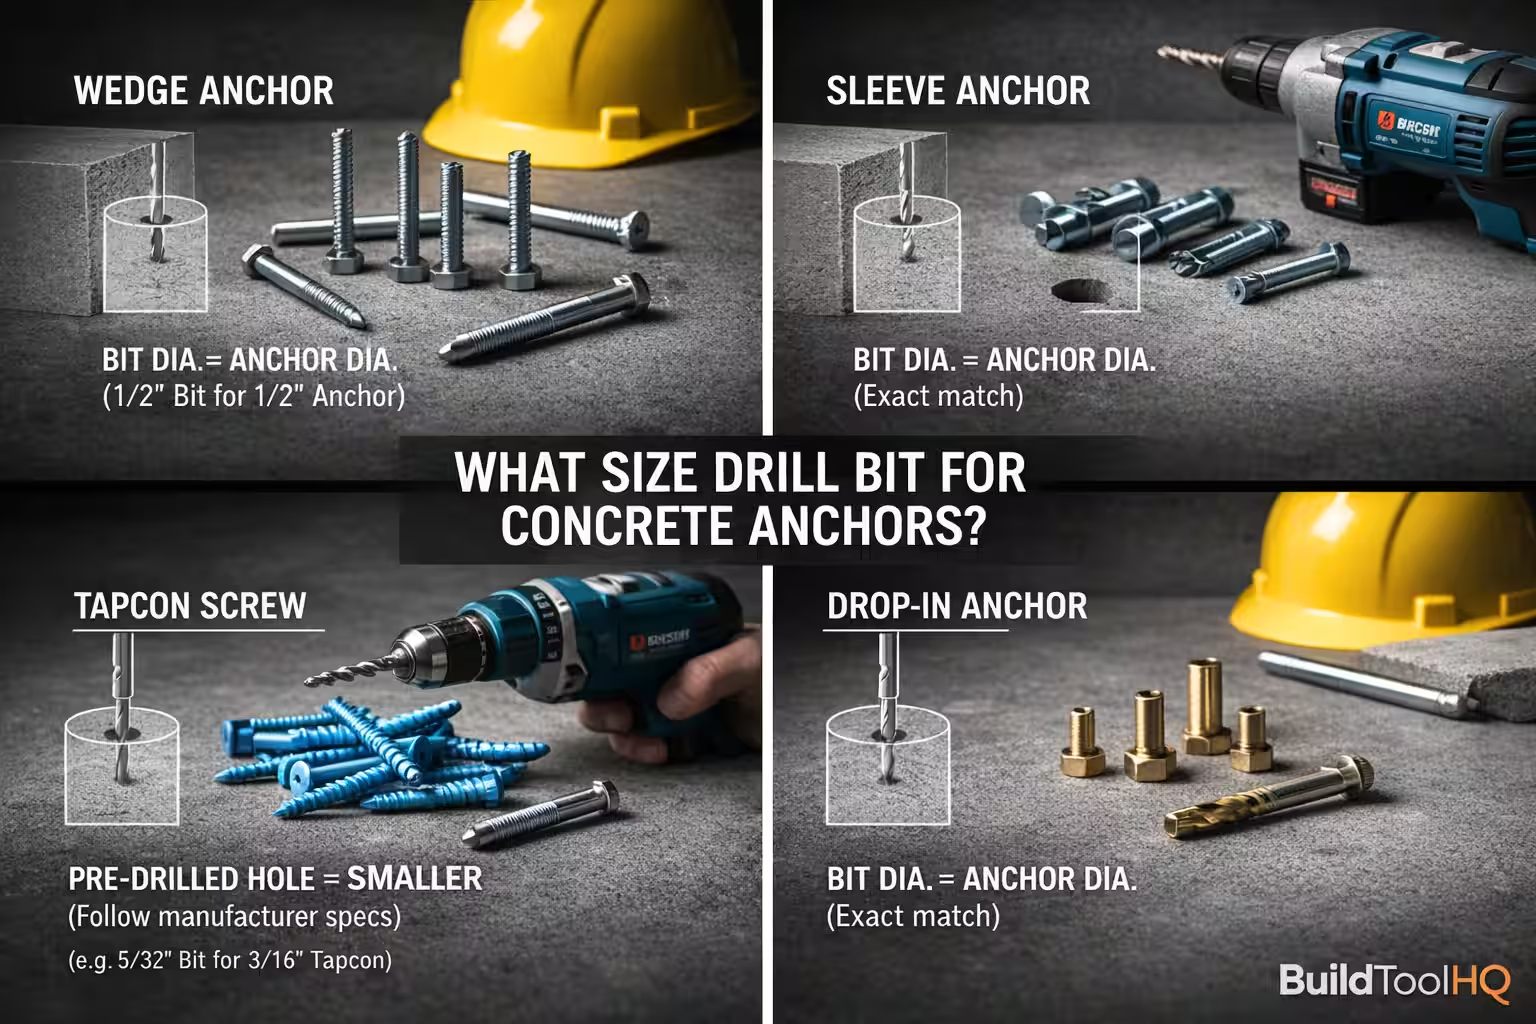
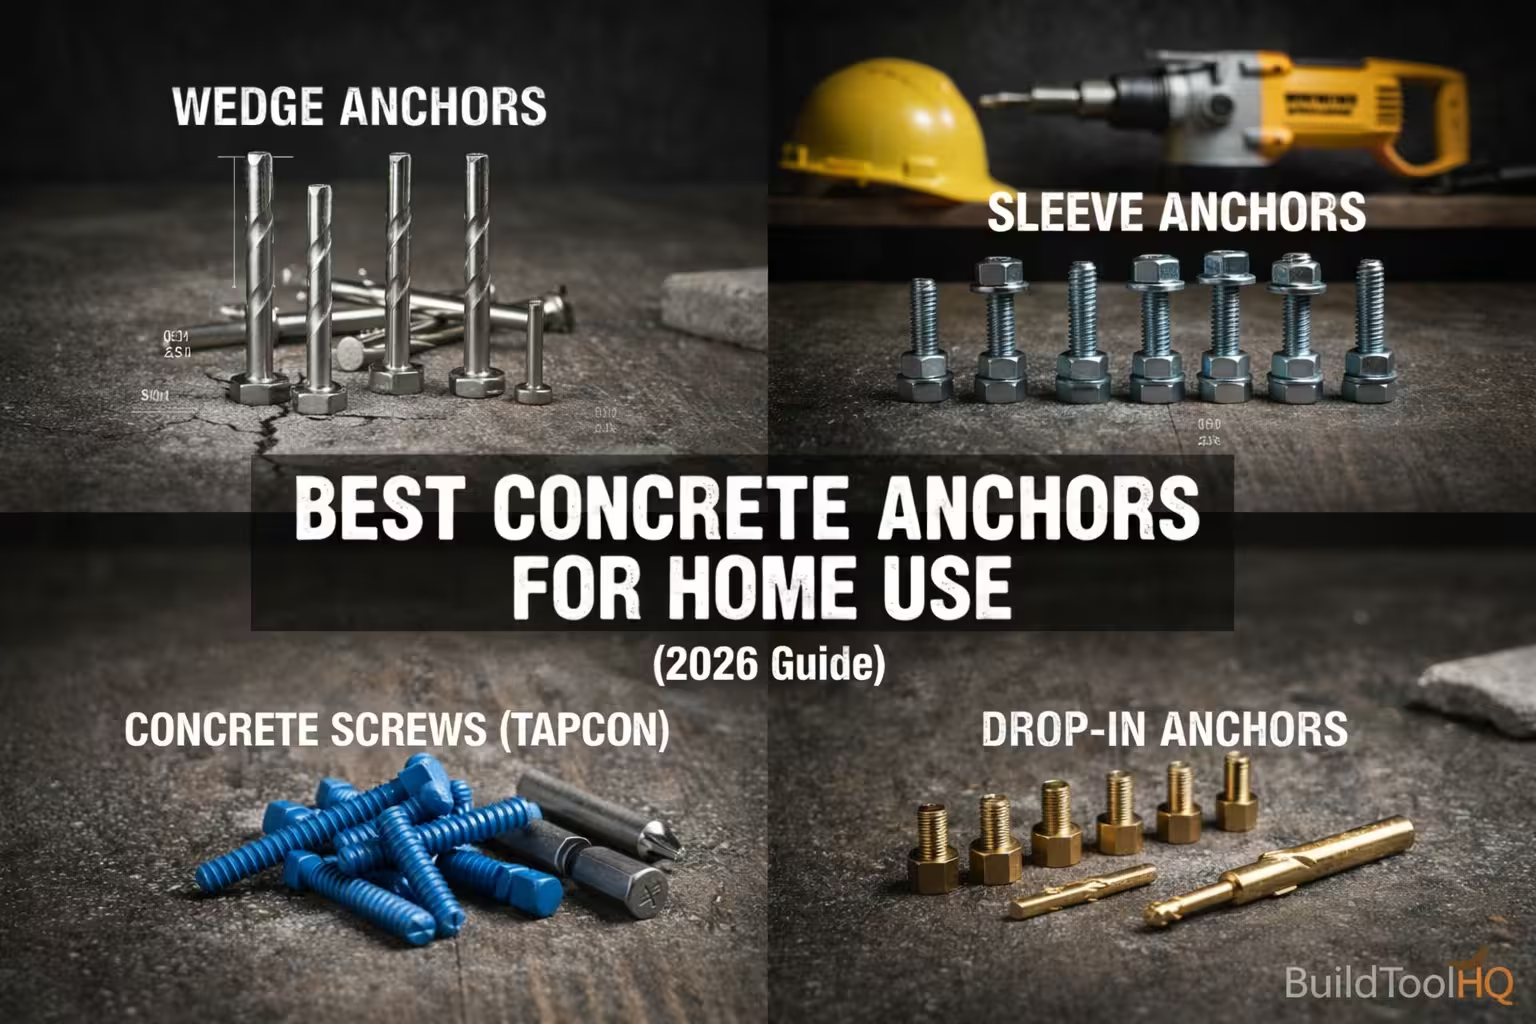
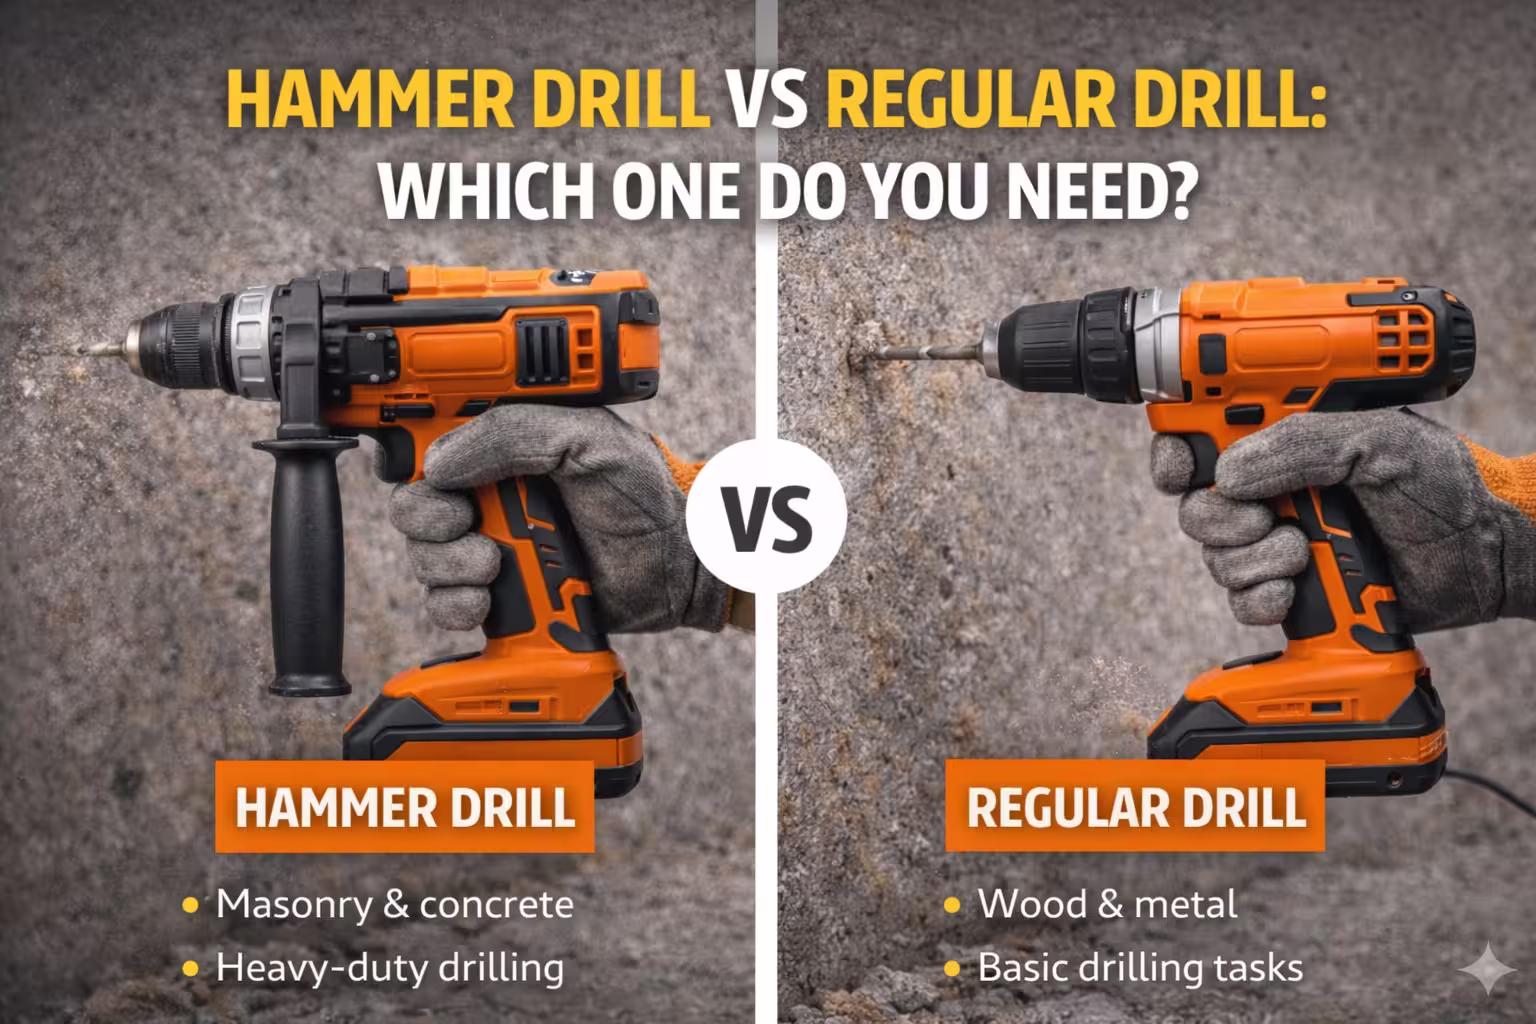
Concrete → masonry bits
Steel → cobalt or titanium bits
Wood → brad point bits
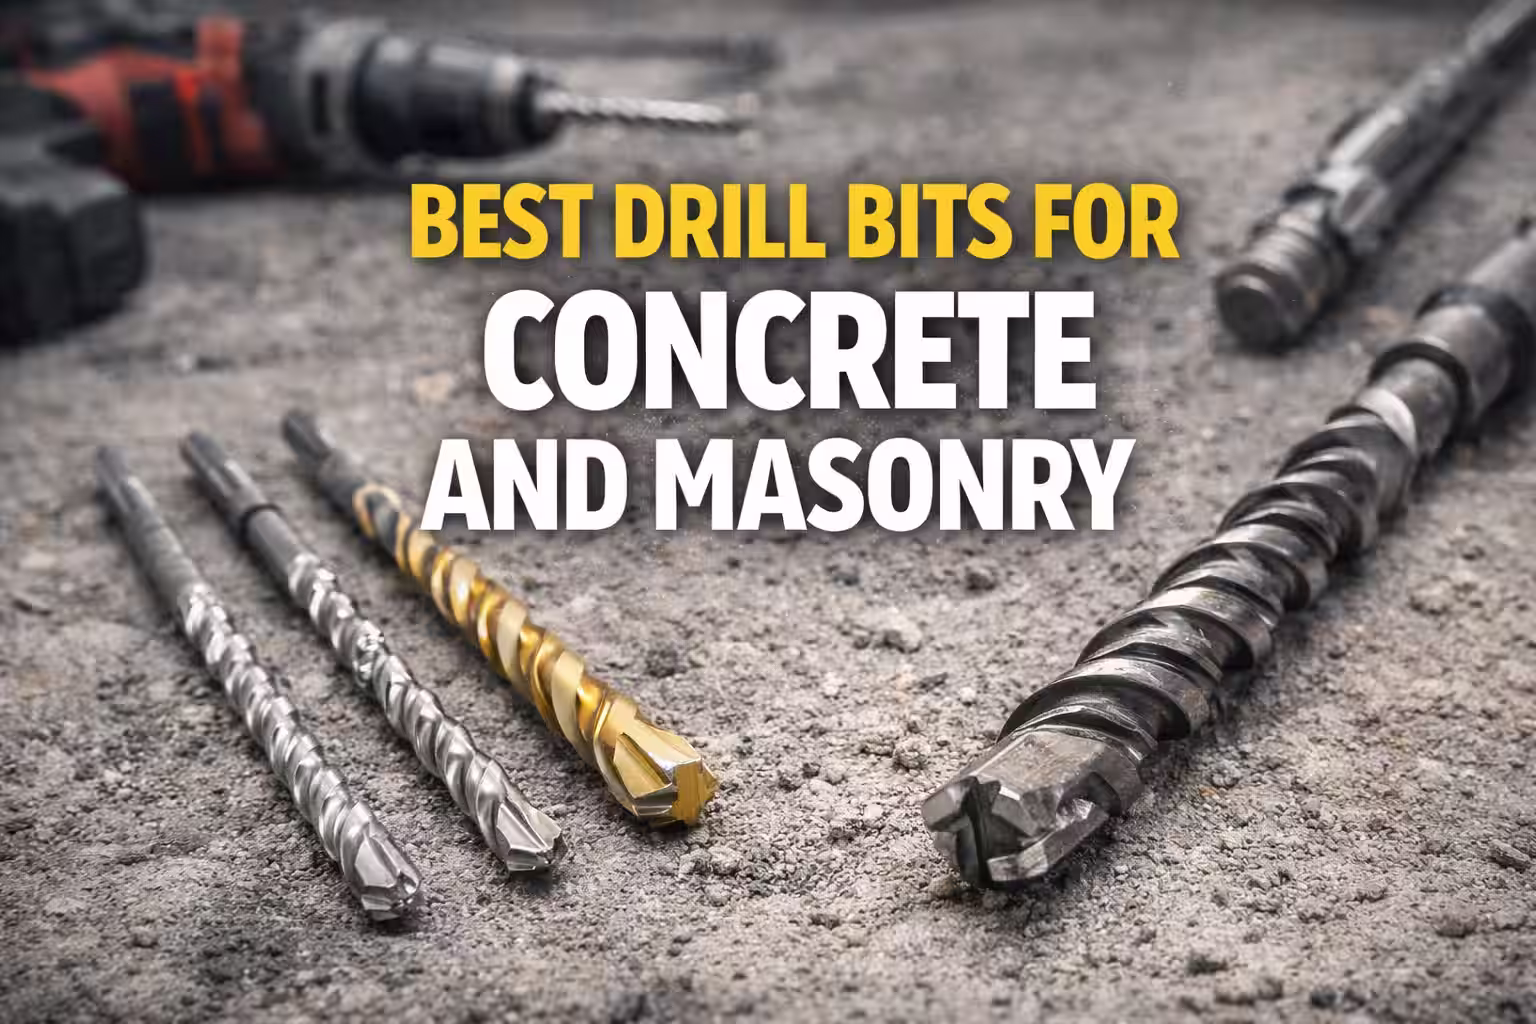
(Best Drill Bits for Concrete and Masonry)
(Best Drill Bit for Wood (Clean Holes & Fast Drilling))
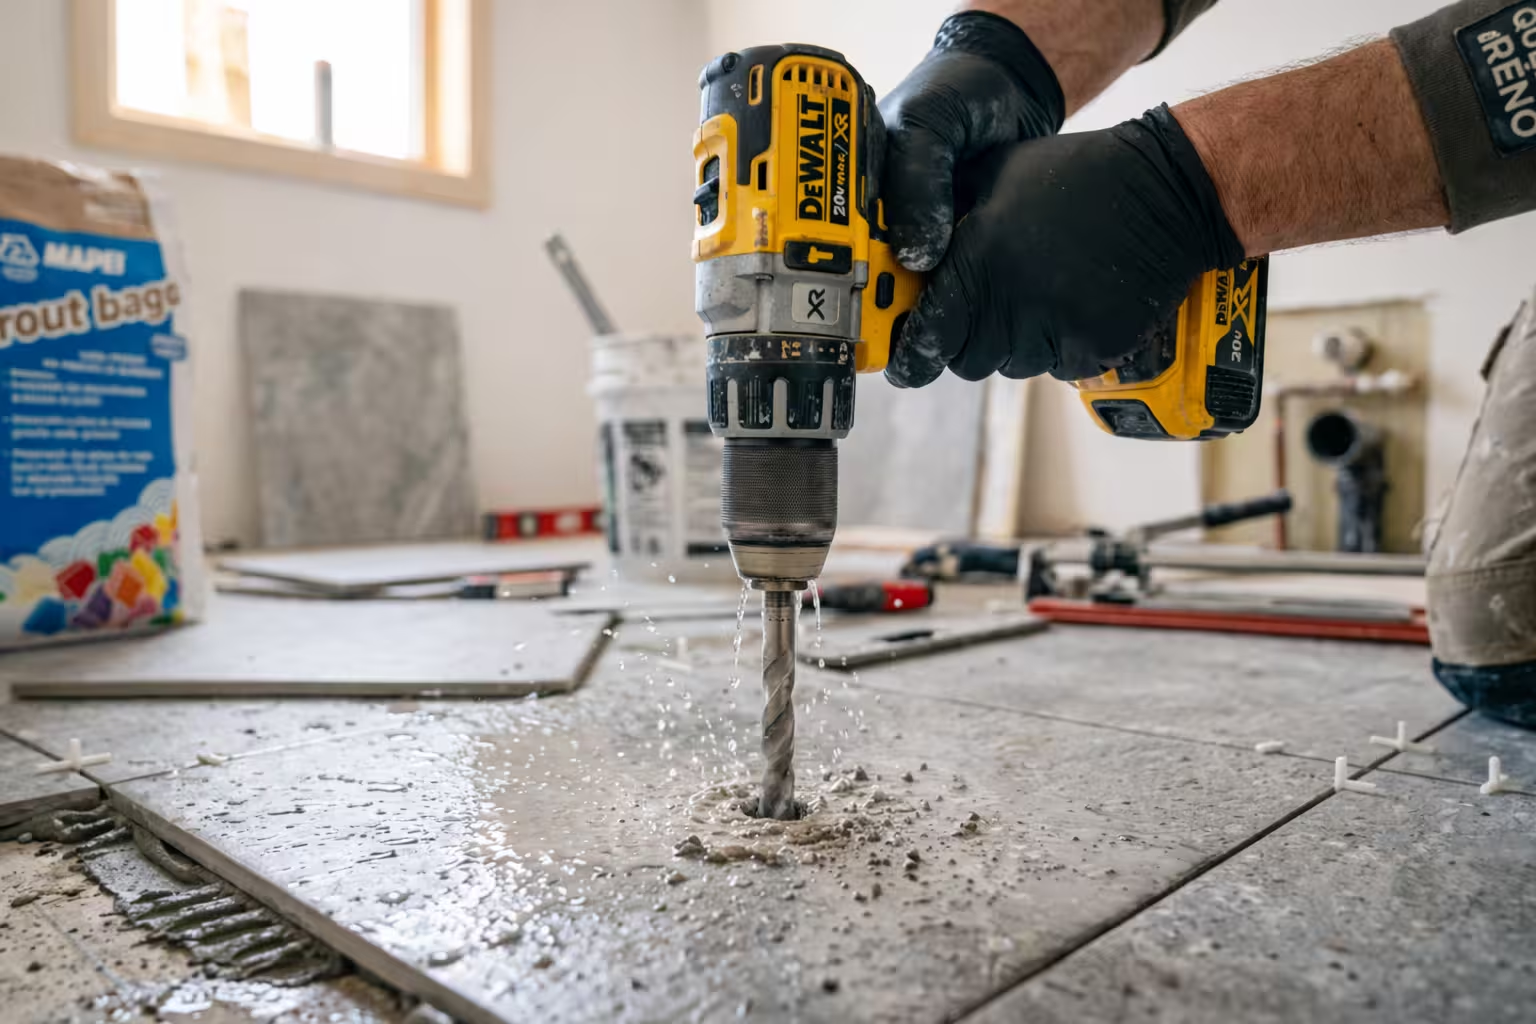
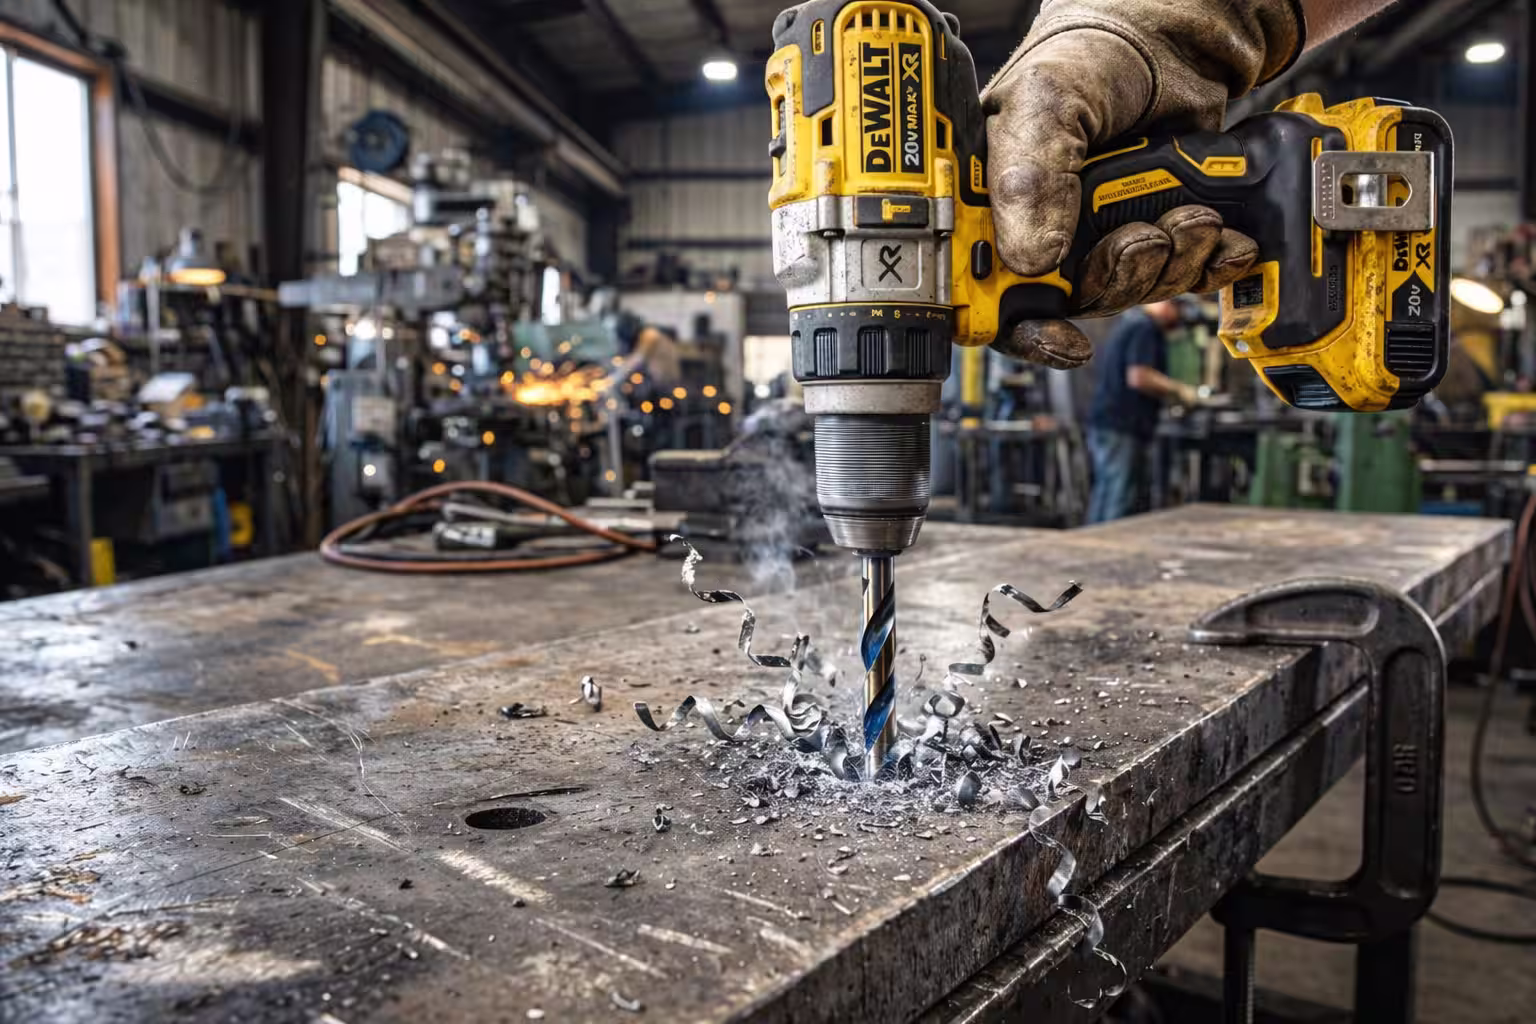
4. Lack of Lubrication When Drilling Metal
When drilling into metal, lubrication is extremely important.
Metal drilling creates significant friction, and without lubrication the drill bit can overheat in seconds.
Lubricants help by:
- Reducing friction
- Cooling the drill bit
- Improving cutting performance
Common drilling lubricants include:
- Cutting oil
- Machine oil
- Specialized drilling fluid
Even a small amount of lubrication can greatly extend the life of a drill bit.
5. Dull Drill Bits
A dull drill bit requires much more force to cut into materials.
Instead of cutting cleanly, the bit starts grinding and generating heat, which leads to burning.
Signs of a dull drill bit include:
- Difficulty starting holes
- Increased heat and smoke
- Rough or uneven holes
If your drill bit becomes dull, you can either sharpen it or replace it.
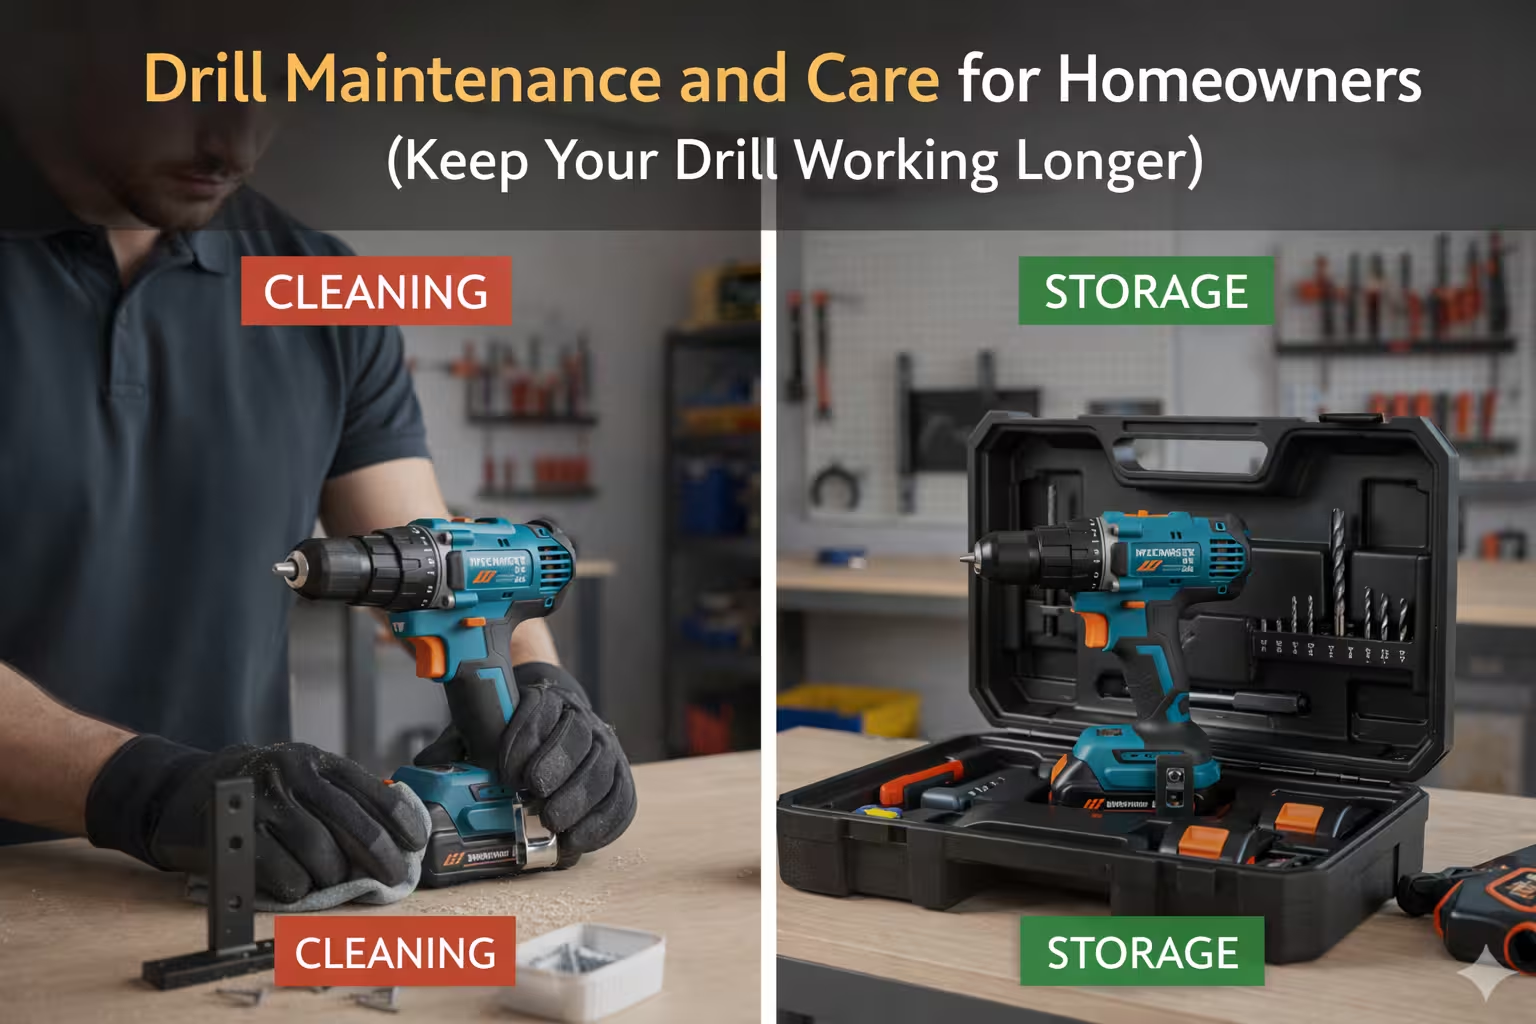
Regular maintenance helps prevent this problem.
(Drill Maintenance and Care for Homeowners (Keep Your Drill Working Longer))
6. Poor Quality Drill Bits
Not all drill bits are created equal.
Cheap drill bits often use softer steel or poor carbide tips, which wear down much faster than professional-grade bits.
Low-quality bits are more likely to:
- Overheat quickly
- Lose their cutting edge
- Break under pressure
Investing in high-quality drill bits usually saves money in the long run because they last significantly longer.
How to Prevent Drill Bits from Burning or Breaking
Preventing drill bit damage is easier than many people think. By following a few simple techniques, you can greatly extend the lifespan of your tools.
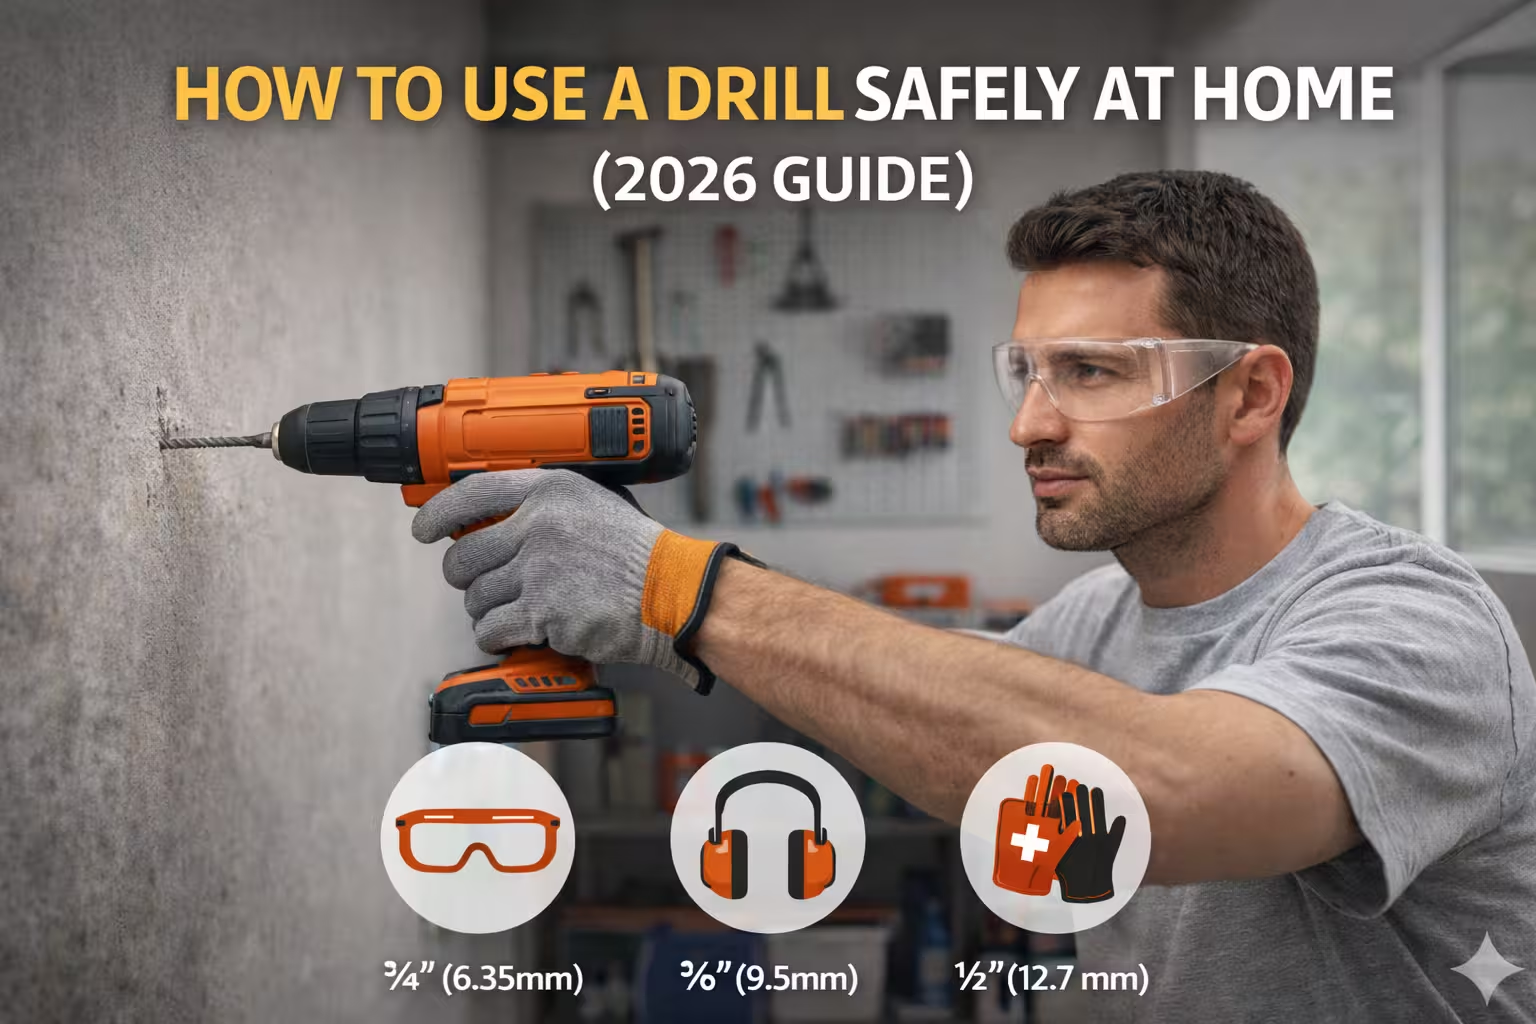
Use the Correct Speed
Always adjust the drill speed based on the material you’re drilling.
Harder materials require slower speeds.
Use Proper Drill Bits
Choose drill bits designed specifically for the material you’re working with.
(Best Drill Bits for Every Material (2026 Complete Guide))
Clear Dust and Debris
When drilling into concrete or masonry, pull the drill bit out occasionally to remove dust and debris.
This reduces heat buildup.
Use Lubrication for Metal
When drilling steel or other metals, apply cutting oil to reduce friction.
Let the Tool Do the Work
Avoid forcing the drill into the material. Proper technique produces better results and protects the drill bit.
Warning Signs Your Drill Bit Is About to Fail
Knowing the early warning signs can prevent a drill bit from breaking mid-project.
Watch for:
- Discoloration on the drill bit
- Smoke or burning smell
- Slow drilling speed
- Excessive vibration
If you notice these signs, stop drilling immediately and allow the bit to cool down.
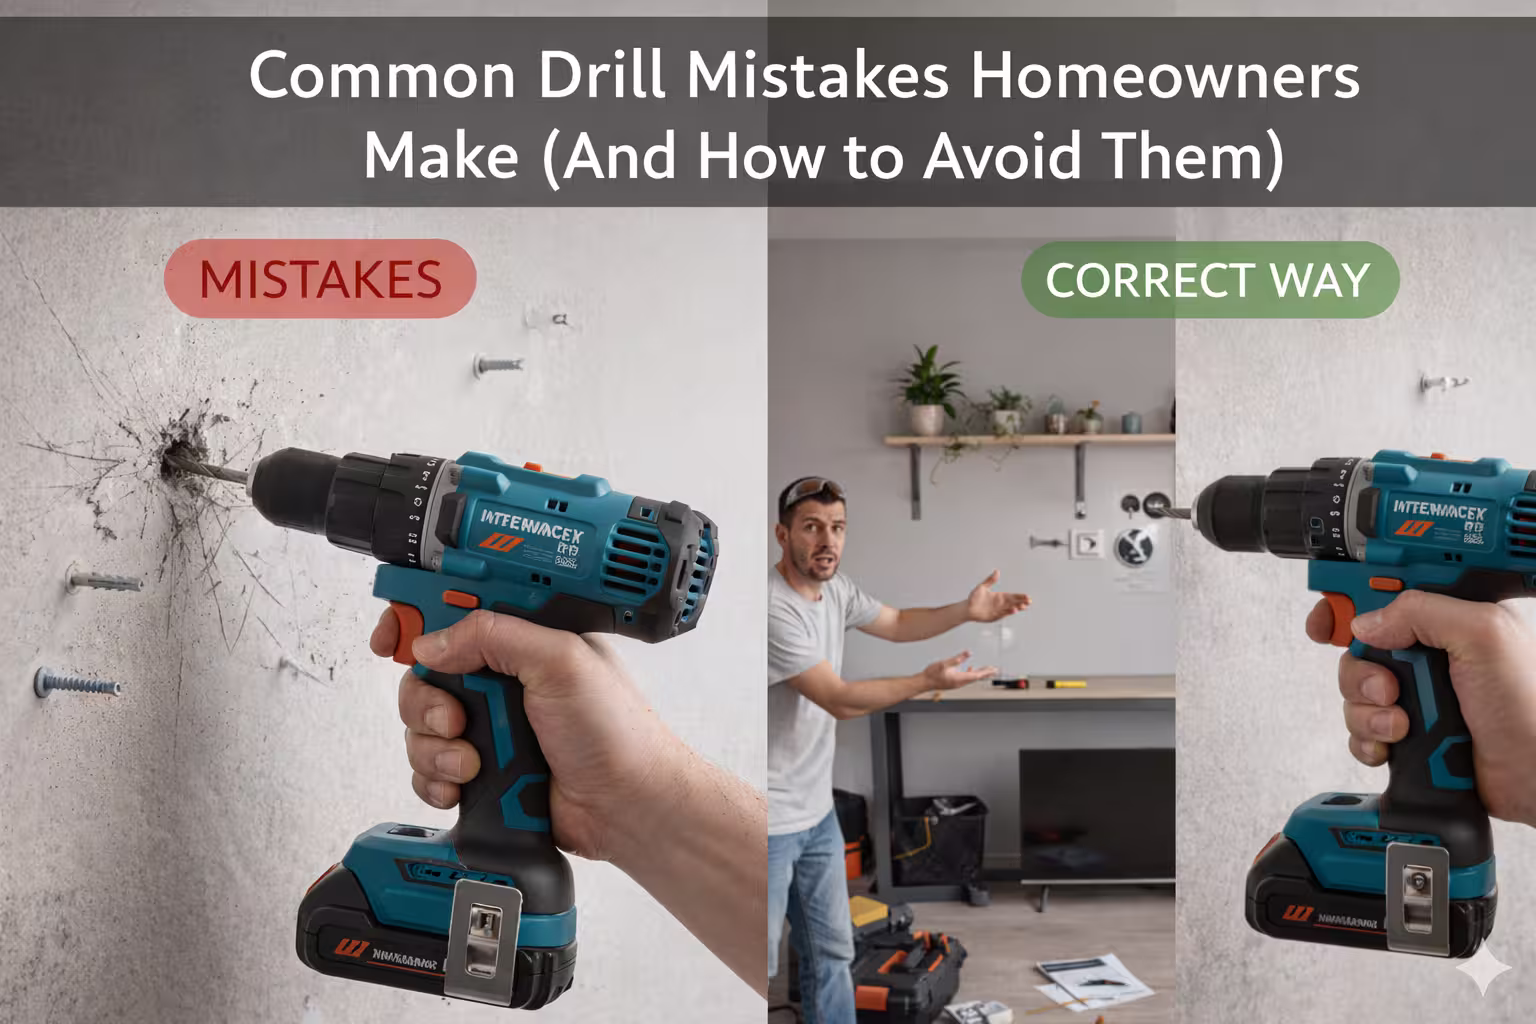
(Common Drill Mistakes Homeowners Make (And How to Avoid Them))
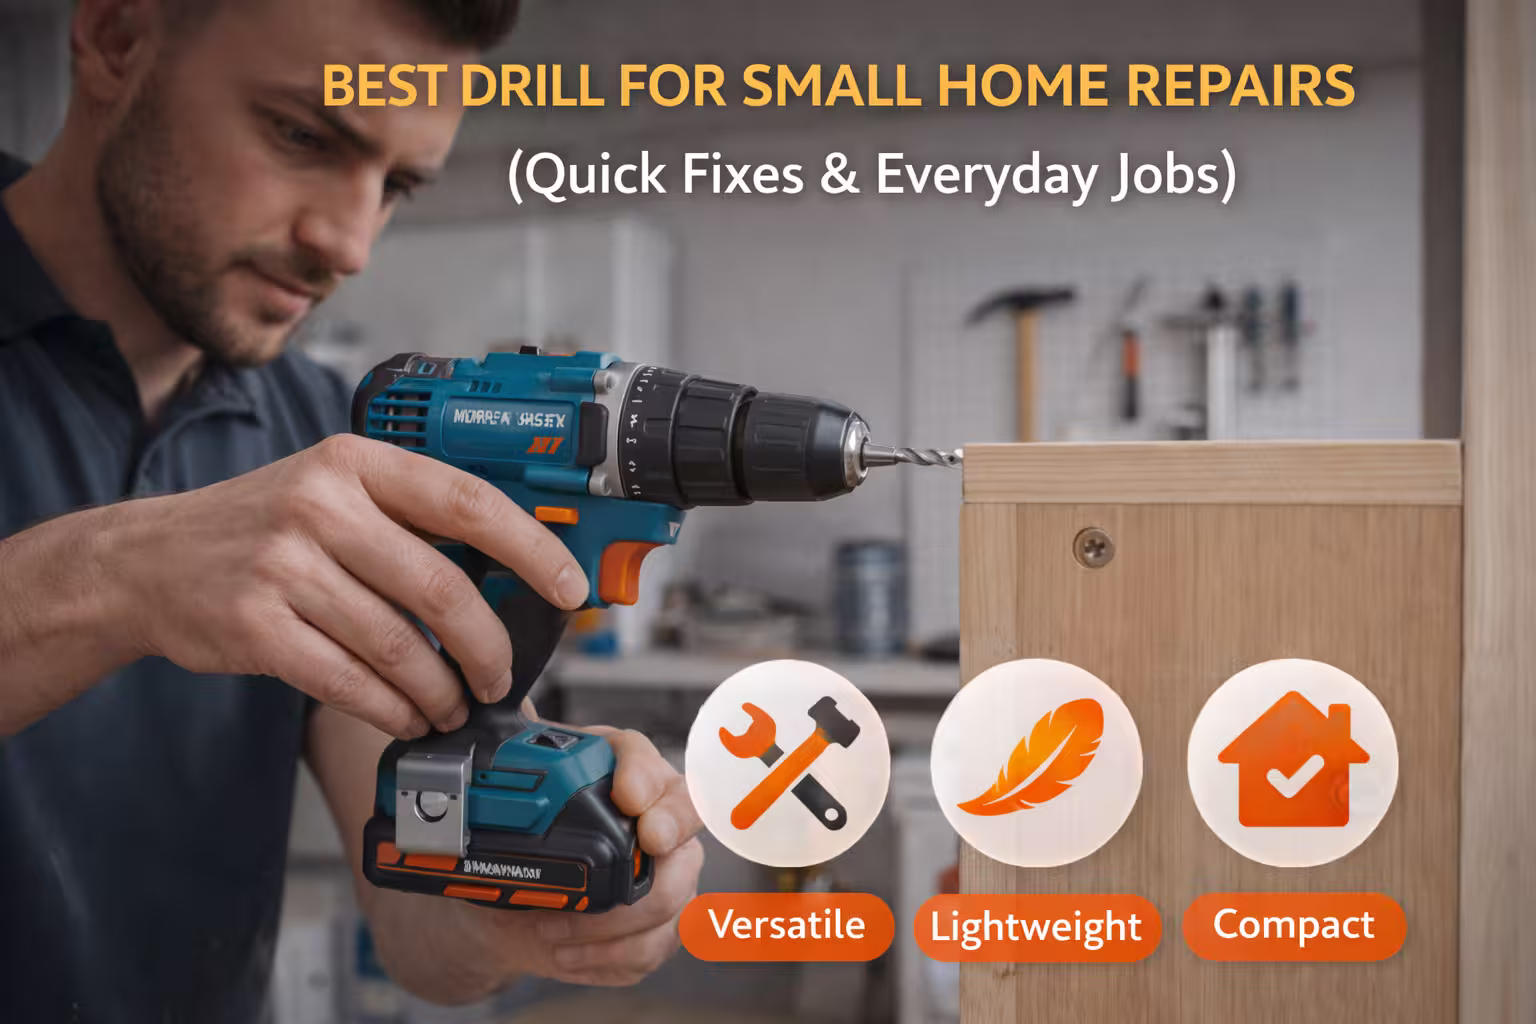
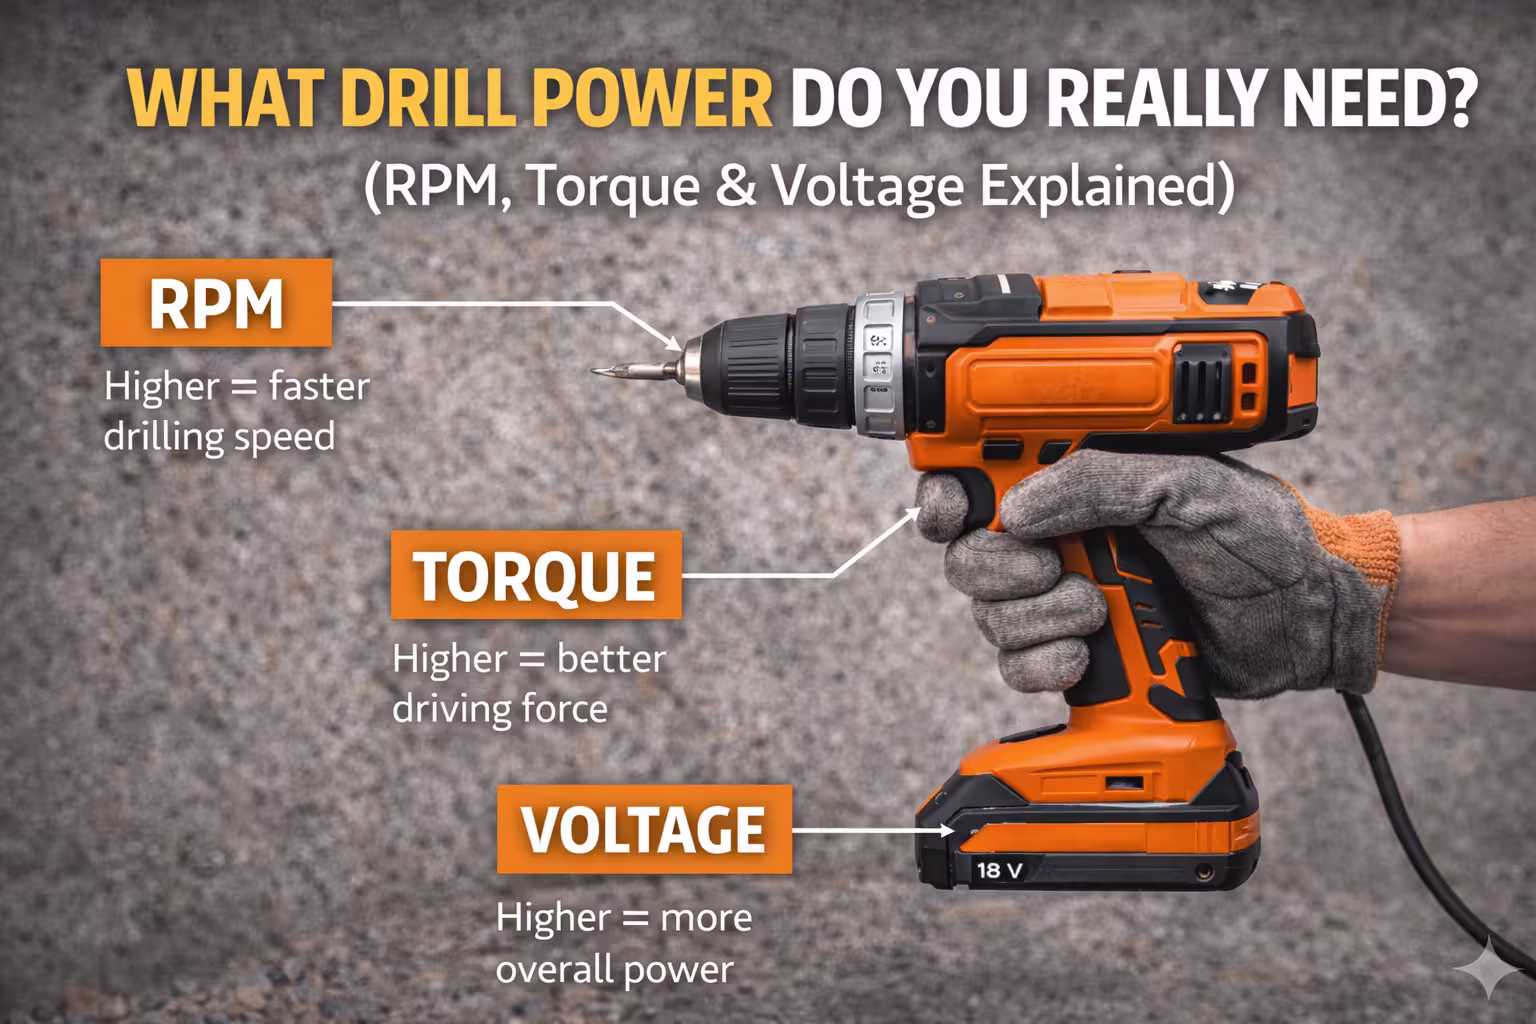
Choosing the Right Drill Power
Another factor many people overlook is drill power.
Underpowered drills struggle with harder materials and can cause excessive friction.
For example:
- Light drills → best for wood and drywall
- Medium drills → suitable for metal and brick
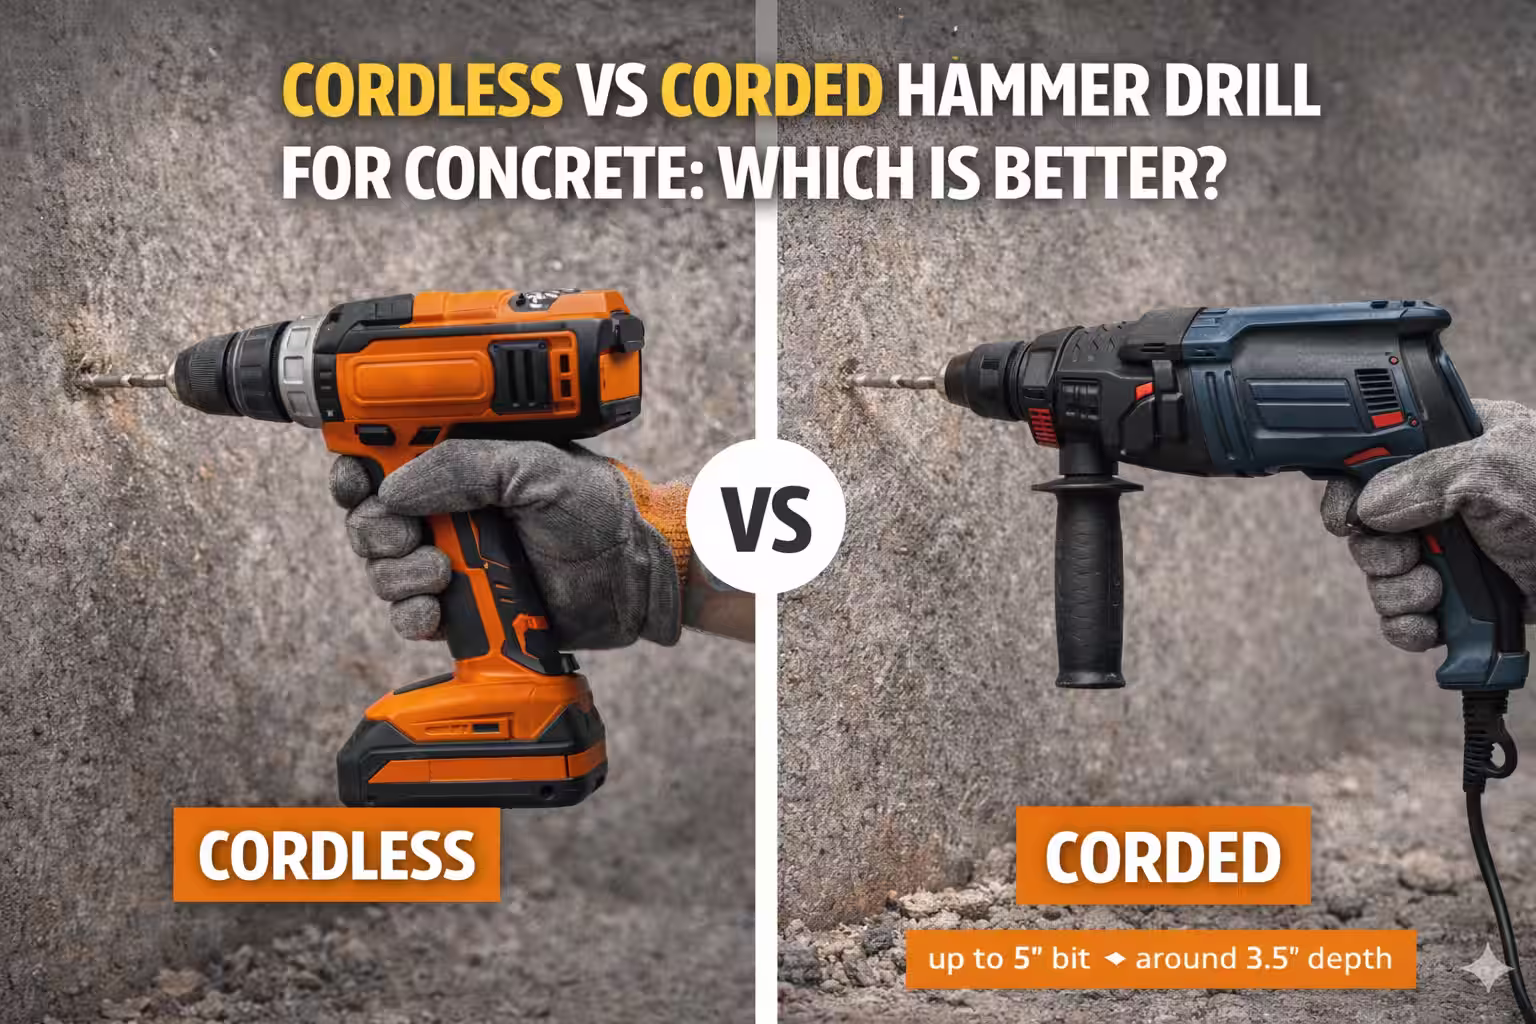
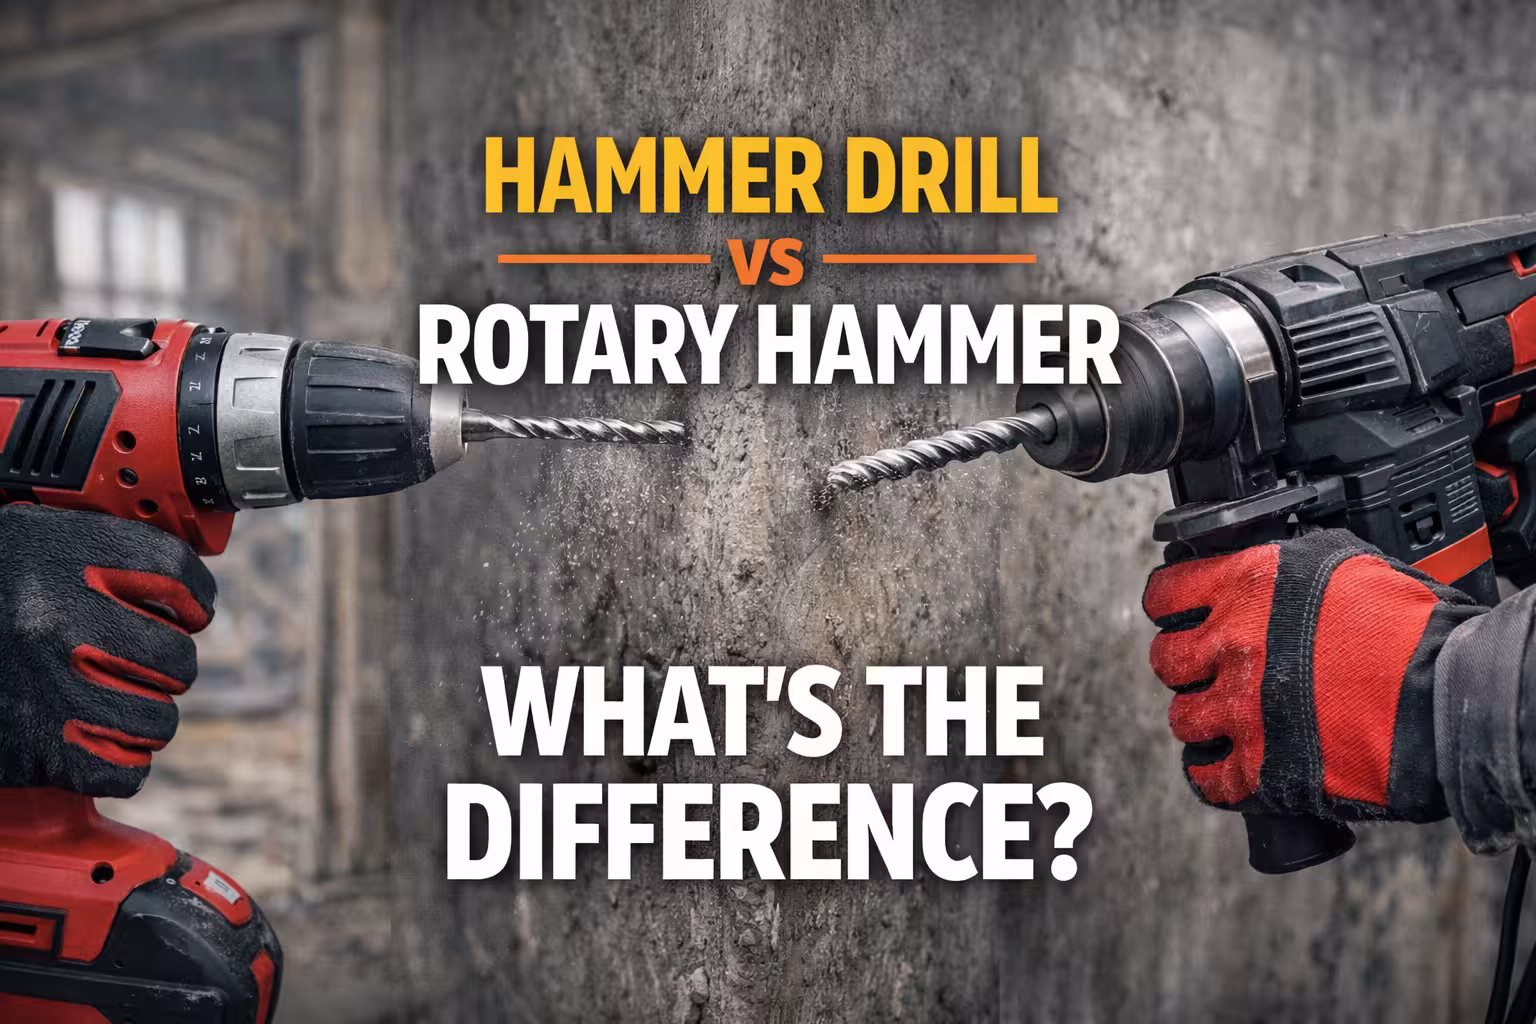
- Hammer drills → required for concrete
Choosing the right drill power improves efficiency and protects your drill bits.
(What Drill Power Do You Really Need? (RPM, Torque & Voltage Explained))
Final Thoughts
Burnt or broken drill bits are usually the result of improper speed, pressure, or drill bit selection.
By using the correct drill bits, controlling drilling speed, and applying proper technique, you can significantly extend the life of your tools and achieve cleaner, faster drilling results.
Taking the time to understand why drill bits fail will not only save money on replacements but also make your drilling projects easier and more efficient.
Drill Bit Troubleshooting FAQs
Frequently Asked Questions About Burnt or Broken Drill Bits
Why do drill bits burn while drilling?
Drill bits usually burn because of excessive heat caused by high drilling speed, dull drill bits, or too much pressure. When friction builds up, the bit overheats and can leave burn marks on wood or metal surfaces.
Why do drill bits turn blue?
Drill bits often turn blue or purple when they overheat during drilling. This color change indicates that the metal has been exposed to very high temperatures, which can weaken the cutting edge and reduce the bit’s lifespan.
Why do drill bits break during drilling?
Drill bits can break due to excessive pressure, incorrect drill speed, misalignment, or using the wrong drill bit for the material. Small diameter bits are especially prone to breaking if they are forced into hard materials.
How can you prevent drill bits from overheating?
To prevent overheating:
- Use lower drilling speeds
- Apply steady pressure
- Use cutting oil or lubricant when drilling metal
- Pull the drill bit out periodically to remove chips and dust
These steps help reduce friction and heat buildup.
Do you need cutting oil when drilling metal?
Yes. Cutting oil or drilling lubricant reduces heat and friction when drilling metal. It also helps remove metal chips and improves the life of the drill bit.
Why do drill bits get dull quickly?
Drill bits can become dull quickly when used on hard materials, at high speeds, or without lubrication. Using the correct drill bit type for the material significantly improves durability.
Can burnt drill bits be sharpened?
Yes. Many drill bits can be resharpened using a bench grinder or drill bit sharpener. However, if the bit has been severely overheated, the metal may have lost its hardness and may not perform as well after sharpening.
What drill speed should you use for different materials?
Different materials require different drilling speeds:
- Wood: medium to high speed
- Metal: low to medium speed
- Concrete or masonry: moderate speed with hammer action
Using the correct speed reduces heat and prevents drill bit damage.
What drill bits are most resistant to heat?
Cobalt drill bits and carbide-tipped drill bits are the most heat-resistant. These bits are commonly used for drilling hard metals and masonry materials.