Installing concrete anchors correctly is critical for safety, strength, and long-term durability. Even the best anchor can fail if it’s installed improperly. This step-by-step guide explains how to install concrete anchors correctly, whether you’re mounting shelves, TVs, electrical panels, or heavy equipment.
If you haven’t chosen an anchor yet, start with (Best Concrete Anchors for Home Use (2026 Guide)) before drilling.
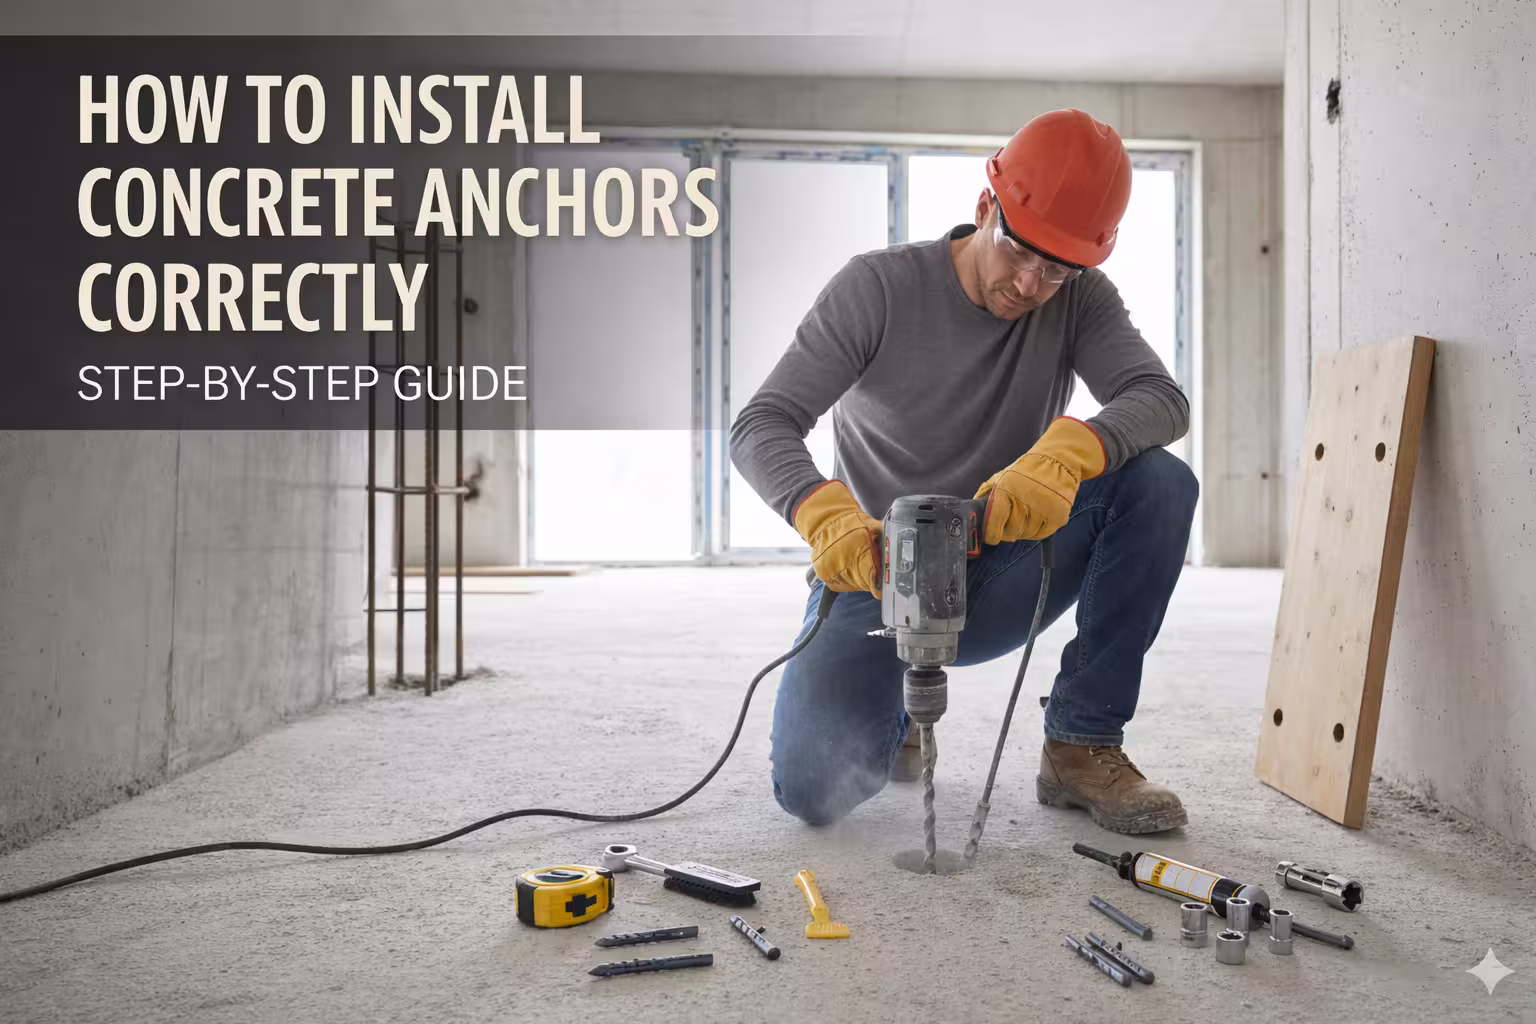
Tools and Materials You’ll Need
Before starting, gather the following:
- Hammer drill or rotary hammer
- Correct masonry drill bit
- Concrete anchors (wedge, sleeve, drop-in, or Tapcon)
- Vacuum, compressed air, or hole-cleaning brush
- Wrench or torque wrench
- Safety glasses and gloves
If you’re unsure about drill bit sizing, review (What Size Drill Bit for Concrete Anchors?) first.
Step 1: Mark Anchor Locations Carefully
Begin by marking your anchor locations with a pencil or marker. Make sure anchors are spaced correctly and not too close to slab edges.
Incorrect spacing is one of the most common causes of anchor failure. Always follow spacing guidelines in (Concrete Anchor Spacing & Edge Distance Guide) before drilling.
Step 2: Drill the Hole to the Correct Size and Depth
Use a hammer drill with the correct masonry bit. Drill straight and perpendicular to the surface.
Key drilling tips:
- Drill slightly deeper than the anchor embedment length
- Do not wobble the drill bit
- Avoid drilling into cracked or weak concrete
If you’re unsure whether your drill is suitable, see (Best Drill for Concrete Walls (2025 Guide)).
Step 3: Clean the Hole Thoroughly (Critical Step)
Hole cleaning is not optional. Dust left inside the hole prevents anchors from expanding or gripping properly.
Clean the hole using:
- Compressed air
- A vacuum
- A wire hole-cleaning brush
Skipping this step can reduce holding power by 30–50%. This mistake is explained in (Common Concrete Anchor Mistakes (And How to Avoid Them)).
Step 4: Insert the Anchor Correctly
Insert the anchor according to its type:
Wedge Anchors
Tap the anchor into the hole until fully seated, then tighten the nut to expand the wedge.
Sleeve Anchors
Insert the anchor through the fixture and into the hole, then tighten gradually.
Drop-In Anchors
Insert the anchor flush with the surface and use a setting tool to expand it.
Tapcon Screws
Drive the screw directly into the pre-drilled hole without over-tightening.
For a breakdown of anchor types, see (Types of Concrete Anchors Explained (Wedge, Sleeve, Drop-In, Tapcon)).
Step 5: Tighten to the Correct Torque
Over-tightening is one of the fastest ways to damage concrete or strip anchors.
- Tighten only to manufacturer specifications
- Use a torque wrench when possible
- Stop immediately if the anchor spins or cracks appear
For strength limits, refer to (How Much Weight Can Concrete Anchors Hold?).
Step 6: Inspect the Installation
After tightening, check for:
- No movement or wobble
- No visible cracks in the concrete
- Proper seating of the anchor head
If the anchor spins or feels loose, remove it and install a new anchor in a different location.
Special Considerations for Brick and Block
Concrete anchors do not behave the same way in brick or block. Installing into the wrong area can cause bricks to crumble or hollow block to fail.
If you’re working with masonry, read (Can You Use Concrete Anchors in Brick or Block?) before installing.
Common Installation Mistakes to Avoid
Avoid these frequent errors:
- Using the wrong drill bit size
- Skipping hole cleaning
- Installing too close to edges
- Over-tightening anchors
- Anchoring into cracked concrete
Each of these mistakes can significantly reduce holding power or cause sudden failure.
Final Installation Tips for Homeowners
If you remember only three rules:
- Drill the correct hole size
- Clean the hole thoroughly
- Do not over-tighten
Following these steps ensures your anchors perform at their rated strength and remain secure over time.
For a quick decision overview, bookmark (Concrete Anchor Selection Chart (Homeowner’s Quick Reference Guide)).
When to Call a Professional
For structural loads, overhead installations, or safety-critical equipment, consider hiring a licensed professional. Incorrect anchor installation in these cases can result in serious injury or property damage.
Leave a Reply