How to Install a Ledger Board on Concrete: Step-by-Step Guide

Attaching a deck ledger board to concrete or concrete block is one of the most structurally critical connections in residential construction. Get it wrong and the deck can separate from the house under load. Get it right and it will outlast the deck boards above it. Here is exactly how to do it.
Need the right anchor for your ledger board?
The Anchor Specification Engine gives you the exact anchor type, size, drill bit, and embedment depth for ledger-to-concrete connections — free, ACI 318-19 compliant.
What You Need Before You Start
Before drilling a single hole, confirm these items:
- Building permit: Most jurisdictions require a permit for deck construction. The ledger connection is the first thing inspectors check.
- Concrete condition: The concrete must be structurally sound. Crumbling, spalled, or deteriorated concrete cannot hold expansion anchors reliably — use epoxy anchors or consult a structural engineer.
- Flashing: Water infiltration at the ledger-to-concrete interface causes premature wood rot. Install proper flashing before any fasteners.
- Pressure-treated lumber: The ledger board must be pressure-treated rated for ground contact (UC4B or higher for ACQ-treated lumber). Use hot-dipped galvanized or stainless steel fasteners — ACQ treatment corrodes standard steel rapidly.
Anchor Options for Ledger-to-Concrete
Three anchor types work for ledger board connections to concrete. Each has different load capacity, installation requirements, and cost:
| Anchor Type | Typical Size | Shear Capacity | Best For |
|---|---|---|---|
| Wedge Anchor | 1/2" x 5-1/2" | ~4,000 lbs | Solid poured concrete walls |
| Sleeve Anchor | 1/2" x 5" | ~2,500 lbs | Concrete block (CMU) foundations |
| Epoxy Anchor | 1/2" threaded rod | ~6,000+ lbs | Cracked concrete, hollow block, seismic zones |
For most residential decks on solid poured concrete, 1/2" wedge anchors at 16" on center are the standard. For concrete block foundations, use sleeve anchors or epoxy — wedge anchors in hollow CMU cells have nothing to grip.
Step-by-Step Installation
Step 1: Position and Mark the Ledger
Set the ledger board at the correct height — typically the deck surface will be 1" to 2" below the interior floor level to prevent water from flowing into the house. Hold the ledger in position (use temporary supports or a helper) and mark the anchor locations with a pencil directly through the ledger onto the concrete.
Anchor spacing for a residential deck ledger: 16" on center maximum, staggered in two rows for 2x10 and larger ledgers. Keep anchors at least 3" from the ends of the ledger board and maintain minimum edge distance from the concrete edge — typically 2.5" minimum for 1/2" wedge anchors.
Step 2: Drill the Pilot Holes Through the Ledger
With the ledger removed, drill clearance holes through the lumber using a standard drill bit. For 1/2" anchor bolts, use a 9/16" spade or auger bit through the wood. Countersink slightly if using hex-head bolts so the head sits flush.
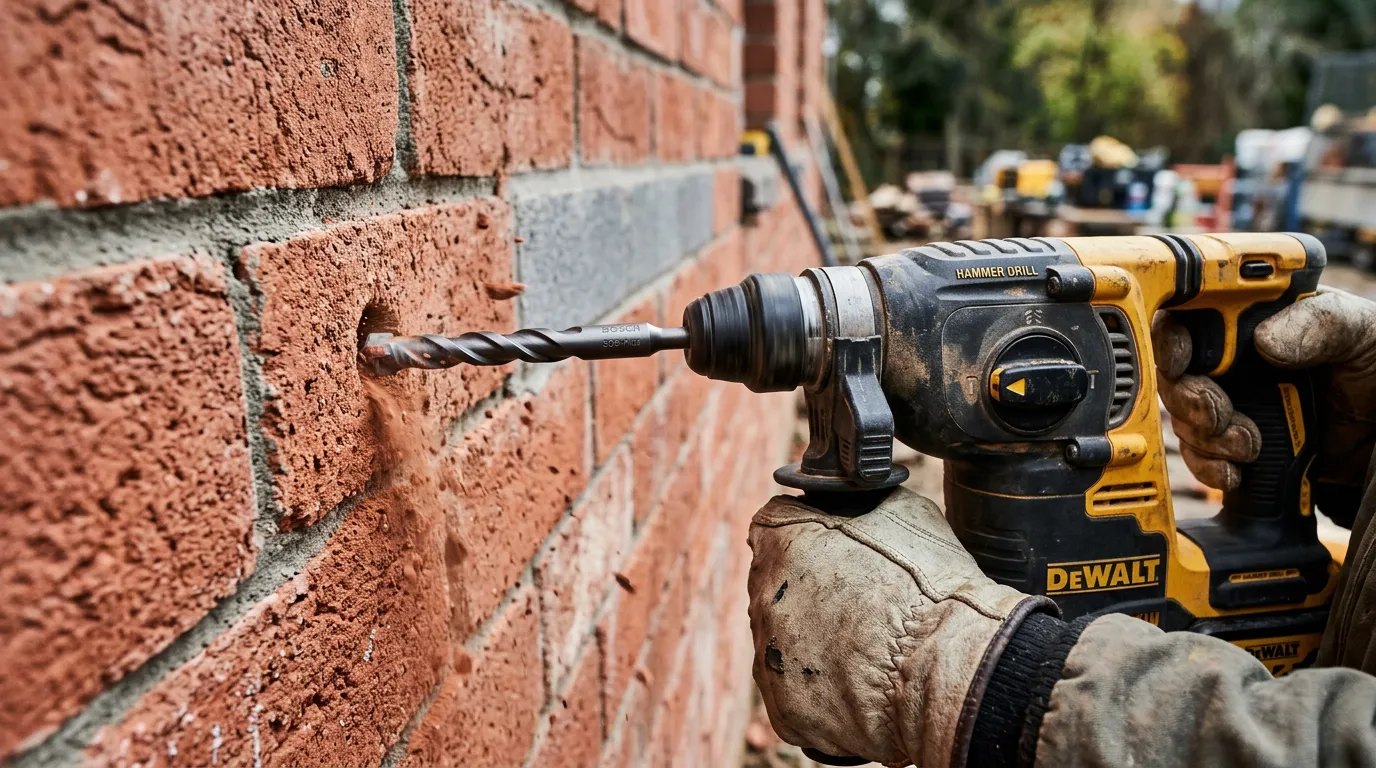
Step 3: Drill the Concrete
This is the critical step. Use a hammer drill or SDS rotary hammer with a 1/2" carbide masonry bit for wedge anchors. Drill to the required embedment depth plus 1/4" for a dust reservoir. For a 1/2" wedge anchor, minimum embedment is 3-1/2" — drill to 3-3/4" minimum.
- Keep the bit perpendicular to the wall — angled holes reduce anchor capacity
- Pull the bit back every 15-30 seconds to clear dust
- Mark the required depth on the bit with masking tape
See our full guide: Drill Bit Size for Concrete Anchors.
Step 4: Clean the Holes
Blow out every hole with compressed air. Concrete dust in the hole reduces anchor holding strength by 30-50%. This step is not optional. For epoxy anchors, the hole must be blown out, brushed, and blown out again — epoxy bonds to concrete, not dust.
Step 5: Install Flashing
Before the ledger goes up permanently, install Z-flashing or ledger flashing tape over the top of the concrete wall where the ledger will sit. The flashing must extend up behind the house sheathing and lap over the top of the ledger. This prevents water from collecting at the ledger-to-concrete interface and rotting the wood.
Step 6: Install the Ledger and Anchors
Hold the ledger in position, aligning the clearance holes with the drilled concrete holes. Insert washers and wedge anchors through the ledger and into the concrete holes. Hand-tighten all anchors before torquing any of them — this ensures the ledger seats flat against the wall.
Torque specification for 1/2" wedge anchors: 25-35 ft-lbs. Use a torque wrench — under-torquing leaves the anchor loose, over-torquing can crack the concrete around the hole.
Shop Wedge Anchors Amazon CA → Amazon US →
Step 7: Install Joist Hangers
Attach joist hangers to the ledger face using the manufacturer-specified hanger nails (not standard nails or screws — hanger nails are specifically rated for the connection). See our guide to joist hangers vs toenailing for the load ratings and code requirements.
Common Mistakes to Avoid
- Skipping flashing: The most common cause of deck failure is water infiltration at the ledger. Always flash before fastening.
- Using wedge anchors in hollow CMU block: The expansion mechanism has nothing to grip in hollow cells. Use sleeve anchors or epoxy for block foundations.
- Insufficient edge distance: Anchors too close to the top or sides of the concrete wall risk blowing out the edge under load. Maintain the manufacturer's minimum edge distance — typically 5 anchor diameters from any edge.
- Wrong anchor spacing: IRC R507.9 requires ledger connections to be engineered or follow prescriptive tables for bolt diameter and spacing. Check your local code.
- Not cleaning holes before epoxy: Epoxy anchors bond chemically to concrete — dust contamination prevents proper bonding and dramatically reduces capacity.
Load Requirements for Deck Ledgers
IRC requires deck ledgers to support a minimum 40 psf live load plus 10 psf dead load. For a 12-foot-wide deck, each linear foot of ledger carries approximately 600 lbs of load. A 1/2" wedge anchor at 3,500 psi concrete with 3.5" embedment provides approximately 4,000 lbs shear capacity — meaning 16" spacing provides more than adequate capacity for standard residential decks.
For larger decks, decks supporting hot tubs, or decks in high-wind/seismic zones, consult a structural engineer. Use our Anchor Load Calculator to verify capacity for your specific conditions.
Calculate your anchor capacity
The Anchor Load Calculator computes tensile and shear capacity per ACI 318-19 for your specific anchor size, embedment, and concrete strength — free, instant.
Related Guides
- Deck Ledger Attachment Guide — Code requirements and connection details
- Anchor Spacing and Edge Distance — ACI 318-19 minimum requirements
- Types of Concrete Anchors — Wedge, sleeve, epoxy, and more
- Drill Bit Size for Concrete Anchors — Every anchor, every bit size
- Joist Hangers vs Toenailing — Load ratings and code requirements
- Anchor Specification Engine — Get your full anchor spec in seconds
Frequently Asked Questions
What size anchors for a deck ledger on concrete?
For most residential decks, use 1/2" diameter wedge anchors with minimum 3.5" embedment in solid poured concrete. Space them 16" on center maximum, staggered in two rows. For concrete block foundations, use 1/2" sleeve anchors or epoxy anchors — never wedge anchors in hollow CMU cells.
Do I need flashing between the ledger and concrete?
Yes — always. Water that infiltrates the ledger-to-concrete interface has nowhere to drain and will rot the ledger board within 5-10 years regardless of how well it's pressure-treated. Install Z-flashing or self-adhering ledger flashing tape before any fasteners.
Can I attach a deck ledger to a concrete block foundation?
Yes, but not with wedge anchors. Concrete block (CMU) has hollow cells — wedge anchors expand against the hole wall but in hollow cells there is no solid material to grip. Use sleeve anchors (which work in the face shells of CMU) or epoxy anchors with threaded rod (which fill the cell with adhesive). Always check whether the cells are grouted solid before specifying anchor type.
How deep should ledger anchors go into concrete?
Minimum embedment for 1/2" wedge anchors is 3.5". Greater embedment increases capacity — 4.5" to 5" embedment is common for ledger applications where loads are significant. Always drill 1/4" deeper than the required embedment to provide a dust reservoir at the bottom of the hole.
Free Tool · AI-Powered
Plan your whole project in 2 minutes
Tell our AI Foreman what you are building and get a complete tool list, materials shopping list, step-by-step plan, and mistakes to avoid.
Try the AI Foreman →
Thomas Leroy
Contractor and founder of BuildToolHQ. 15+ years working with concrete, masonry, and structural fastening on residential and commercial job sites across North America. I built this site to give tradespeople and serious DIYers the same technical knowledge professionals use every day.
More about ThomasRelated Articles
How to Drill Into Brick Without Cracking It (Step-by-Step)
Read more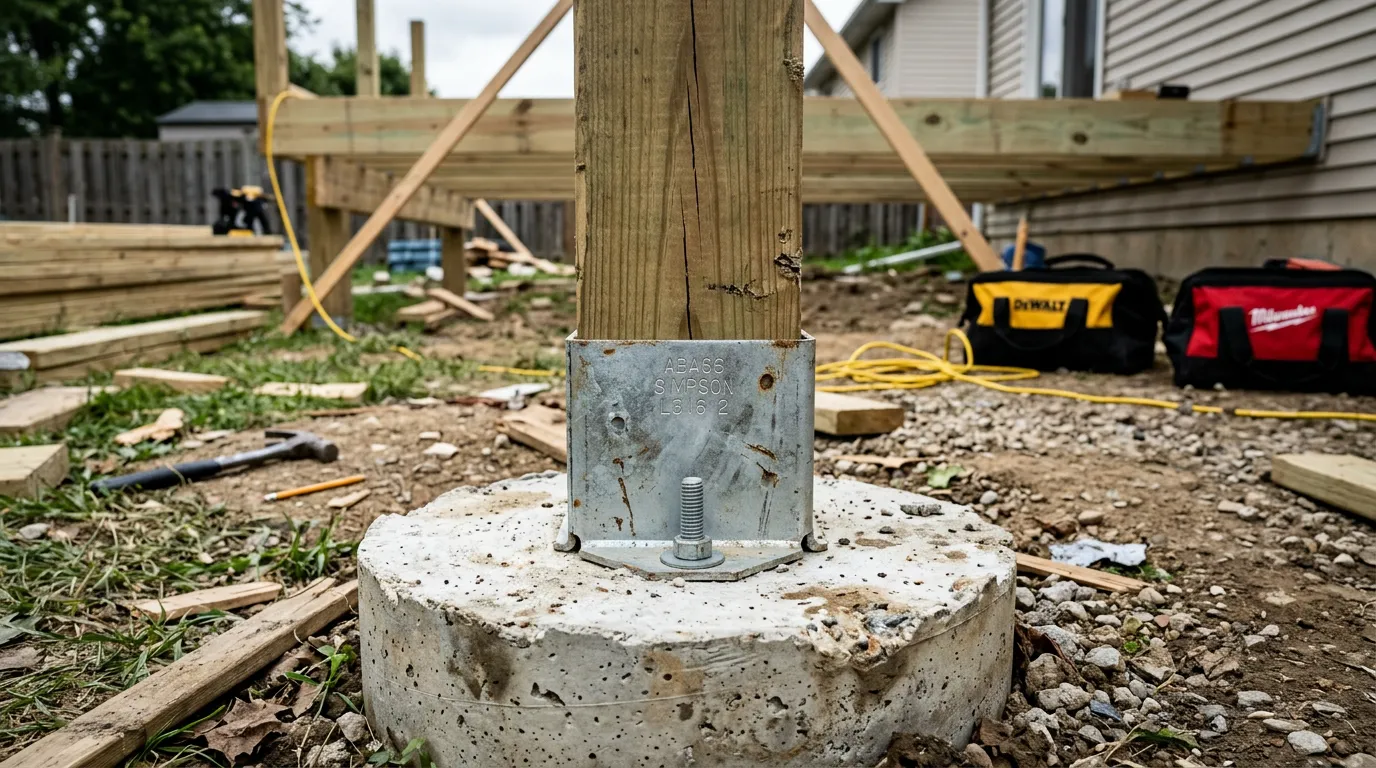
How to Anchor a Deck Post to Concrete (Post Base vs Embedded)
Read more
How to Read an ICC-ES ESR Report for Concrete Anchors (Step-by-Step)
Read more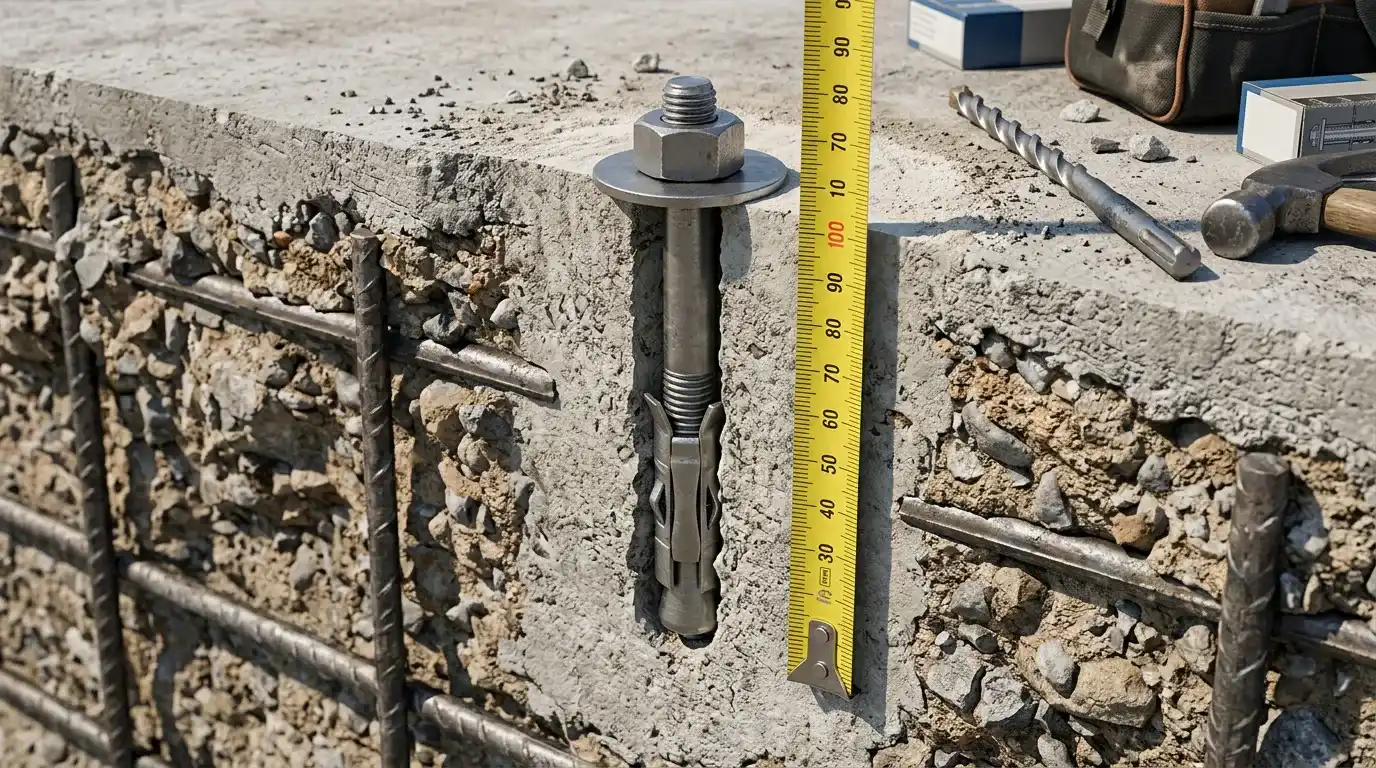
What Is Anchor Embedment Depth? (And Why Getting It Wrong Fails Your Anchor)
Read more